# Mac: Detailed Install Guide
Install Nimbalyst on macOS, open a project, and connect Claude Agent or OpenAI Codex using a plan login or API key.
This guide takes you from the macOS disk image to your first agent session. Download the current installer from the [Nimbalyst download page](https://nimbalyst.com/download/).
## Install the App
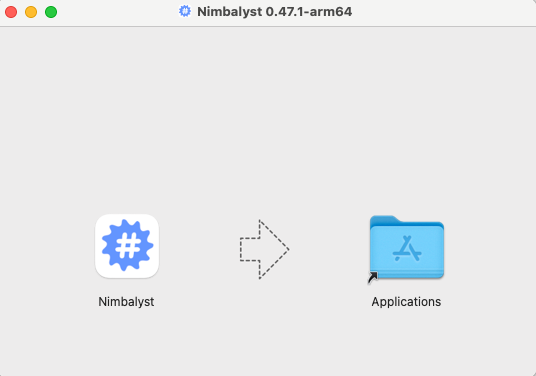
1. Open the downloaded Nimbalyst `.dmg` file.
2. Drag Nimbalyst into **Applications**.
3. Open Nimbalyst from **Applications**.
4. If macOS asks whether you want to open an app downloaded from the internet, click **Open**.
Drag Nimbalyst into Applications, then launch it from there.
Nimbalyst updates itself after installation. If macOS blocks the first launch, open **System Settings > Privacy & Security** and use the option to open Nimbalyst there.
## Open a Project
A project is a folder on your Mac. It can be a Git repository or any other folder containing the documents and files you want to work with.
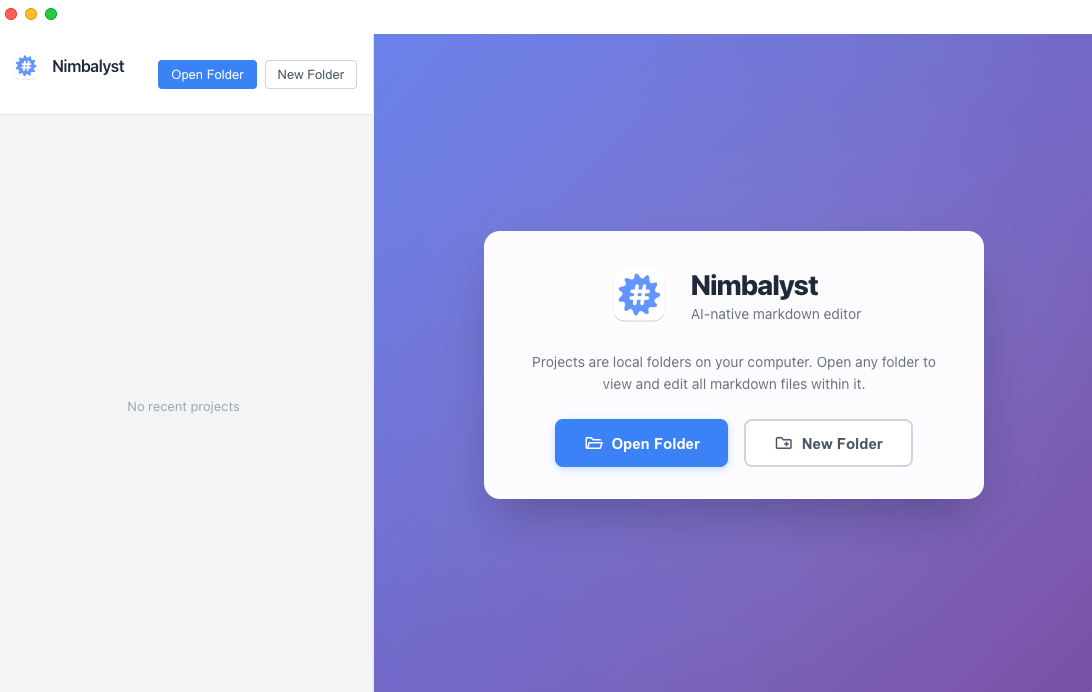
1. On the Project Manager screen, choose **Open Folder** or **New Folder**.
2. Complete the welcome screen. Choose Standard Mode for a simpler writing workspace or Developer Mode for Git, terminal, and worktree features; you can change this later.
3. Use **Start tutorial** if you want a disposable example project, or **Get started…** to open your own folder.
Each project is backed by a folder on your filesystem.
## Connect an Agent
The standard Claude Agent and OpenAI Codex integrations are included with Nimbalyst. You do not need to install a separate CLI for either one.
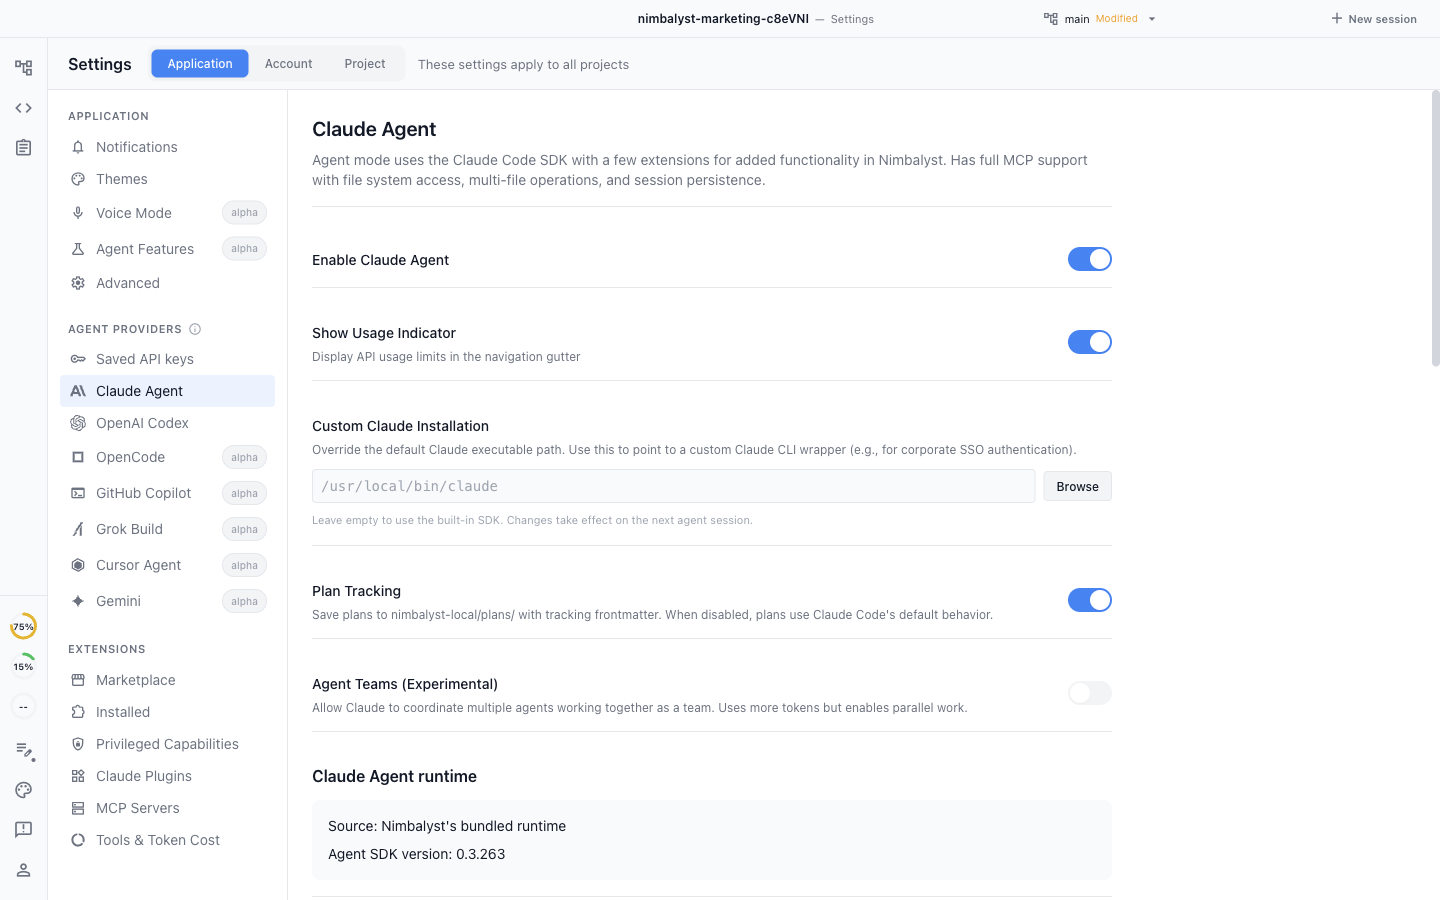
1. Open **Settings > Application > AI Providers**.
2. Select **Claude Agent** or **OpenAI Codex** and enable it.
3. Authenticate with a supported subscription login, or choose the API-key option and enter your own key.
4. Return to the workspace, create a session, and select that provider in the composer.
The AI Providers settings on macOS. Leave Custom Claude Installation empty to use Nimbalyst's bundled runtime.
Claude plan login opens Terminal for the OAuth flow and may ask you to type `/login`; return to Settings and click **Refresh** when authentication finishes. Codex plan login opens the ChatGPT sign-in flow in your browser.
Nimbalyst also offers separate CLI providers for users who deliberately want a locally installed command-line agent. Those providers have their own installation checks. See [AI Provider Setup](https://nimbalyst.com/docs/setup-nimbalyst/ai-provider-setup-and-notifications/).
## Start Working
Type a request in the agent panel. The agent can research, write and edit files, build mockups and diagrams, and work with the project context that you give it. You review file changes in Nimbalyst before accepting them.