How to Track What Your AI Coding Agent Actually Changed
Practical methods for tracking file changes made by Claude Code, Codex, and other AI coding agents. Covers git techniques, diff tools, change summaries, and visual review workflows.
Your AI coding agent just finished a 15-minute session. It says it “implemented the feature.” But what did it actually change? Which files did it touch? Did it modify something you didn’t expect? Did it add dependencies? Did it delete anything?
Knowing exactly what changed — and being able to verify it quickly — is the most important skill in AI-assisted development. Here’s how to track changes reliably.
Method 1: Git Diff (The Baseline)
The simplest approach. If your agent is working on a branch (which it should be), git tells you everything:
See All Changes
# What changed compared to main
git diff main...HEAD

# Just file names
git diff main...HEAD --name-only

# Stats: lines added/removed per file
git diff main...HEAD --stat
Example Output
$ git diff main...HEAD --stat
 src/api/users.ts          |  42 ++++++++++++
 src/api/users.test.ts     |  87 ++++++++++++++++++++++++
 src/db/schema.ts          |   5 +-
 src/middleware/auth.ts     |   3 +-
 package.json              |   1 +
 package-lock.json          | 312 ++++++++++++++++++++++
 6 files changed, 447 insertions(+), 3 deletions(-)
This immediately tells you:
- The agent created 2 new files (users.ts, users.test.ts)
- It modified 2 existing files (schema.ts, auth.ts)
- It added a dependency (package.json + lock file changed)
- Total scope: 447 lines added, 3 removed
Per-File Diff
# See changes in a specific file
git diff main...HEAD -- src/db/schema.ts
Untracked Files
Git diff only shows tracked files. Check for new untracked files too:
git status --shortMethod 2: Commit-Level Tracking
If the agent makes multiple commits during a session, you can see changes per commit:
# List commits on the feature branch
git log main..HEAD --oneline

# Show what each commit changed
git log main..HEAD --stat

# Full diff for a specific commit
git show abc1234
This is especially useful when an agent makes iterative changes — first attempt, then fixes, then more fixes. You can see the full journey, not just the end state.
Method 3: Session Summaries
Ask the Agent
After a session, ask the agent directly:
> Summarize every file you created, modified, or deleted in this session. Include the reason for each change.Claude Code and Codex will give you a structured summary. Compare this to git diff --stat to verify nothing was missed.
Automated Summaries
Create a script that generates a change summary:
#!/bin/bash
# change-summary.sh — Run after an agent session

echo "=== Files Changed ==="
git diff main...HEAD --name-status

echo ""
echo "=== New Dependencies ==="
git diff main...HEAD -- package.json | grep "^+" | grep -v "^+++" | head -20

echo ""
echo "=== Lines Changed ==="
git diff main...HEAD --shortstat

echo ""
echo "=== New Files ==="
git diff main...HEAD --name-only --diff-filter=A

echo ""
echo "=== Deleted Files ==="
git diff main...HEAD --name-only --diff-filter=D

echo ""
echo "=== Modified Files ==="
git diff main...HEAD --name-only --diff-filter=M
Run this after every session to get a consistent, scannable summary.
Method 4: Watch Mode (Real-Time Tracking)
If you want to see what the agent is changing as it works:
fswatch / inotifywait
# macOS
fswatch -r src/ | while read file; do
  echo "[$(date +%H:%M:%S)] Changed: $file"
done

# Linux
inotifywait -m -r src/ -e modify,create,delete
This gives you a live stream of file changes. Useful when you’re supervising a session and want to see the agent’s progress without reading its full output.
Git Status Polling
# Check for changes every 10 seconds
watch -n 10 'git status --short'
Low-tech but effective for a quick “is anything changing?” check.
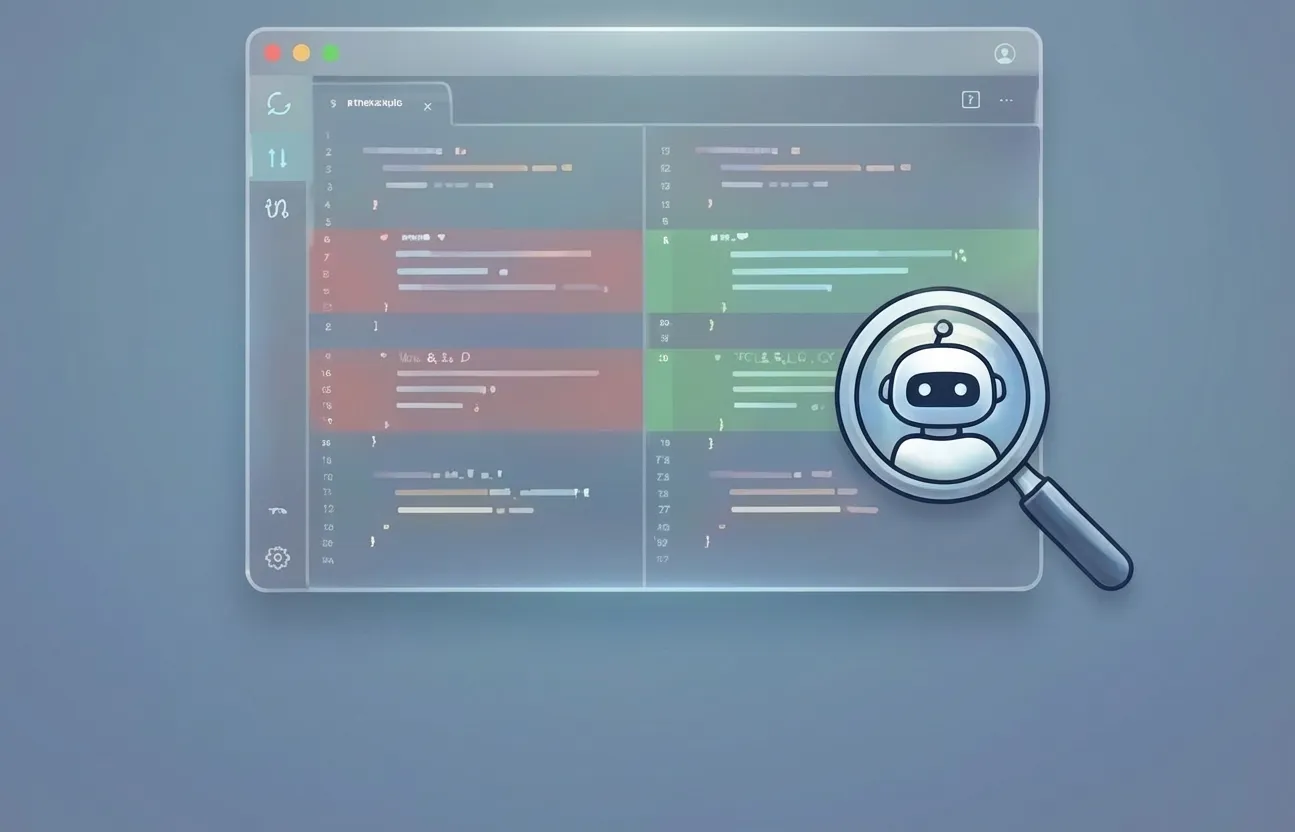
Method 5: Visual Diff Tools
Terminal diffs work for small changes. For large changesets (30+ files, 500+ lines), visual tools are significantly faster.
GitHub PR View
Push the branch and create a PR:
git push origin feat/my-feature
gh pr create --draft --title "Agent session: user profile feature"
GitHub’s PR diff view gives you:
- File-by-file navigation
- Inline commenting
- Change grouping
- CI integration
VS Code Source Control
Open the repo in VS Code. The Source Control panel shows all modified files. Click any file to see the diff with syntax highlighting.
Nimbalyst Session Files + Integrated Diff
If you’re using Nimbalyst, every session tracks a list of files it created or modified. You see this list at a glance on the session card, so you immediately know the scope of what changed without running any commands.
Click any file in the list to open it directly in Nimbalyst’s built-in editor with the diff view alongside it. There’s no context switching between a diff tool and your editor. You read the diff, make adjustments, and move on to the next file, all in the same window. The full session file list plus visual diff is also available on iOS for mobile review.
Method 6: Change Classification
Not all changes are equal. Classify them by risk:
High-Risk Changes (Review Carefully)
- Schema changes: Database migrations, API contract changes
- Auth/security: Permission checks, token handling, encryption
- Config changes: Environment variables, build config, CI/CD
- Dependency changes: New packages, version bumps
Medium-Risk Changes (Spot-Check)
- Business logic: New endpoints, data transformations, calculations
- UI components: New components, layout changes
- Test files: Verify they test behavior, not implementation
Low-Risk Changes (Quick Scan)
- Formatting: Whitespace, import ordering
- Type definitions: Interface/type additions
- Comments/docs: Documentation updates
Spend 80% of your review time on high-risk changes. Quick-scan the rest.
Automated Classification
# Classify changes by risk level
echo "=== HIGH RISK ==="
git diff main...HEAD --name-only | grep -E "(schema|migration|auth|security|\.env|config)"

echo ""
echo "=== DEPENDENCIES ==="
git diff main...HEAD --name-only | grep -E "(package\.json|Gemfile|requirements\.txt|go\.mod)"

echo ""
echo "=== TESTS ==="
git diff main...HEAD --name-only | grep -E "(\.test\.|\.spec\.|_test\.)"

echo ""
echo "=== OTHER ==="
git diff main...HEAD --name-only | grep -v -E "(schema|migration|auth|security|\.env|config|package\.json|\.test\.|\.spec\.|_test\.)"
Method 7: Snapshot Comparison
For sessions that run in your main working directory (no worktree), take a snapshot before the session starts:
# Before starting the agent
git stash  # Or commit current work
git tag pre-agent-session

# After the agent finishes
git diff pre-agent-session..HEAD
This gives you a clean comparison even if the agent made multiple commits.
Building a Tracking Habit
The developers who catch AI bugs early share one habit: they review changes immediately after each session, before starting the next task.
Here’s a minimal post-session checklist:
- Run
git diff --stat— are the right files changed? - Check for surprise files — anything you didn’t expect?
- Look for dependency changes — new entries in package.json?
- Read high-risk diffs — auth, schema, config changes
- Run tests — do they pass?
- Run the app — does it actually work?
Total time: 5–10 minutes for a typical session. The alternative — discovering bugs hours or days later — costs much more.
Verdict
Tracking AI-generated changes is a solved problem. Git gives you everything you need. The challenge isn’t the tools — it’s the discipline to review consistently.
The best approach depends on your scale:
- 1–2 sessions/day:
git diff --stat+ manual review is fine - 3–5 sessions/day: Automate with the
change-summary.shscript + visual diff tools - 5+ sessions/day: Use a dedicated tool (like Nimbalyst) with built-in diff review and session tracking
Whatever method you choose, the key principle is the same: never merge agent output without understanding what changed.