Visual Editors
AI mockups from a single command
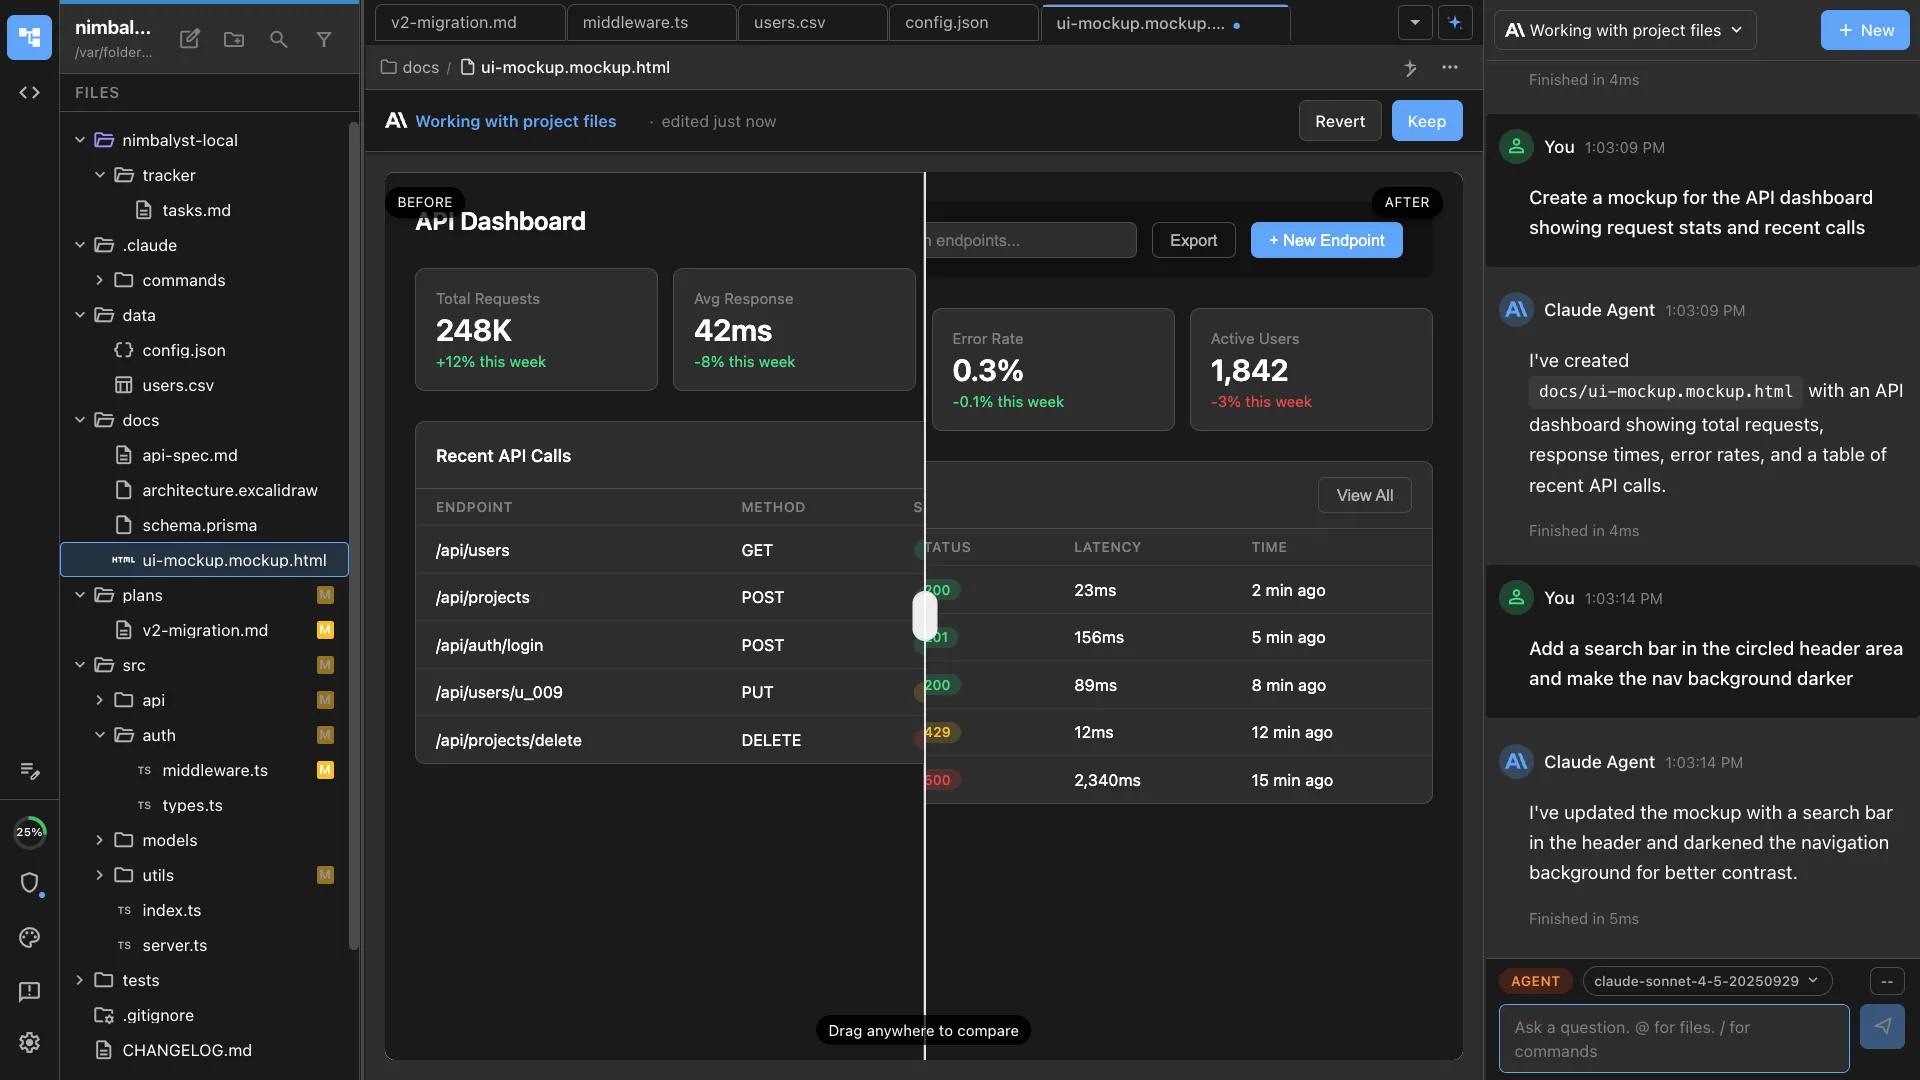
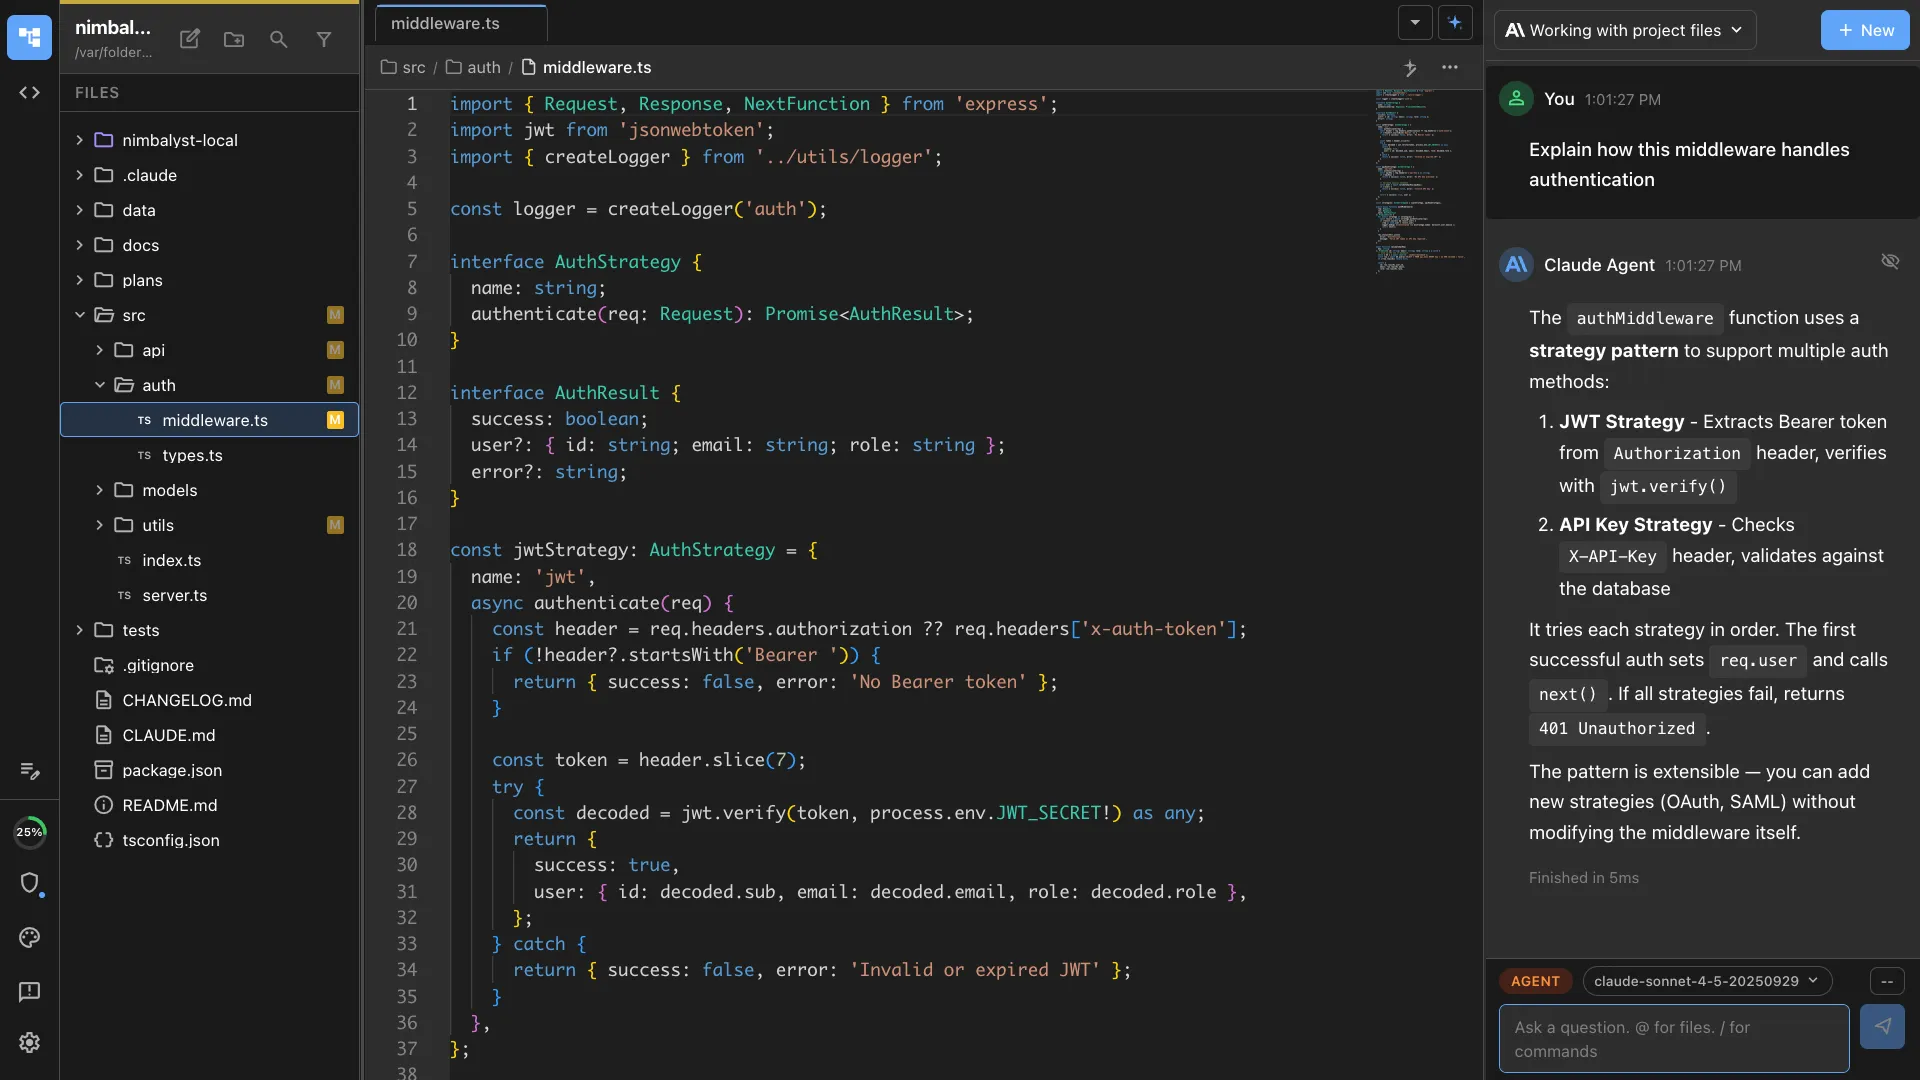
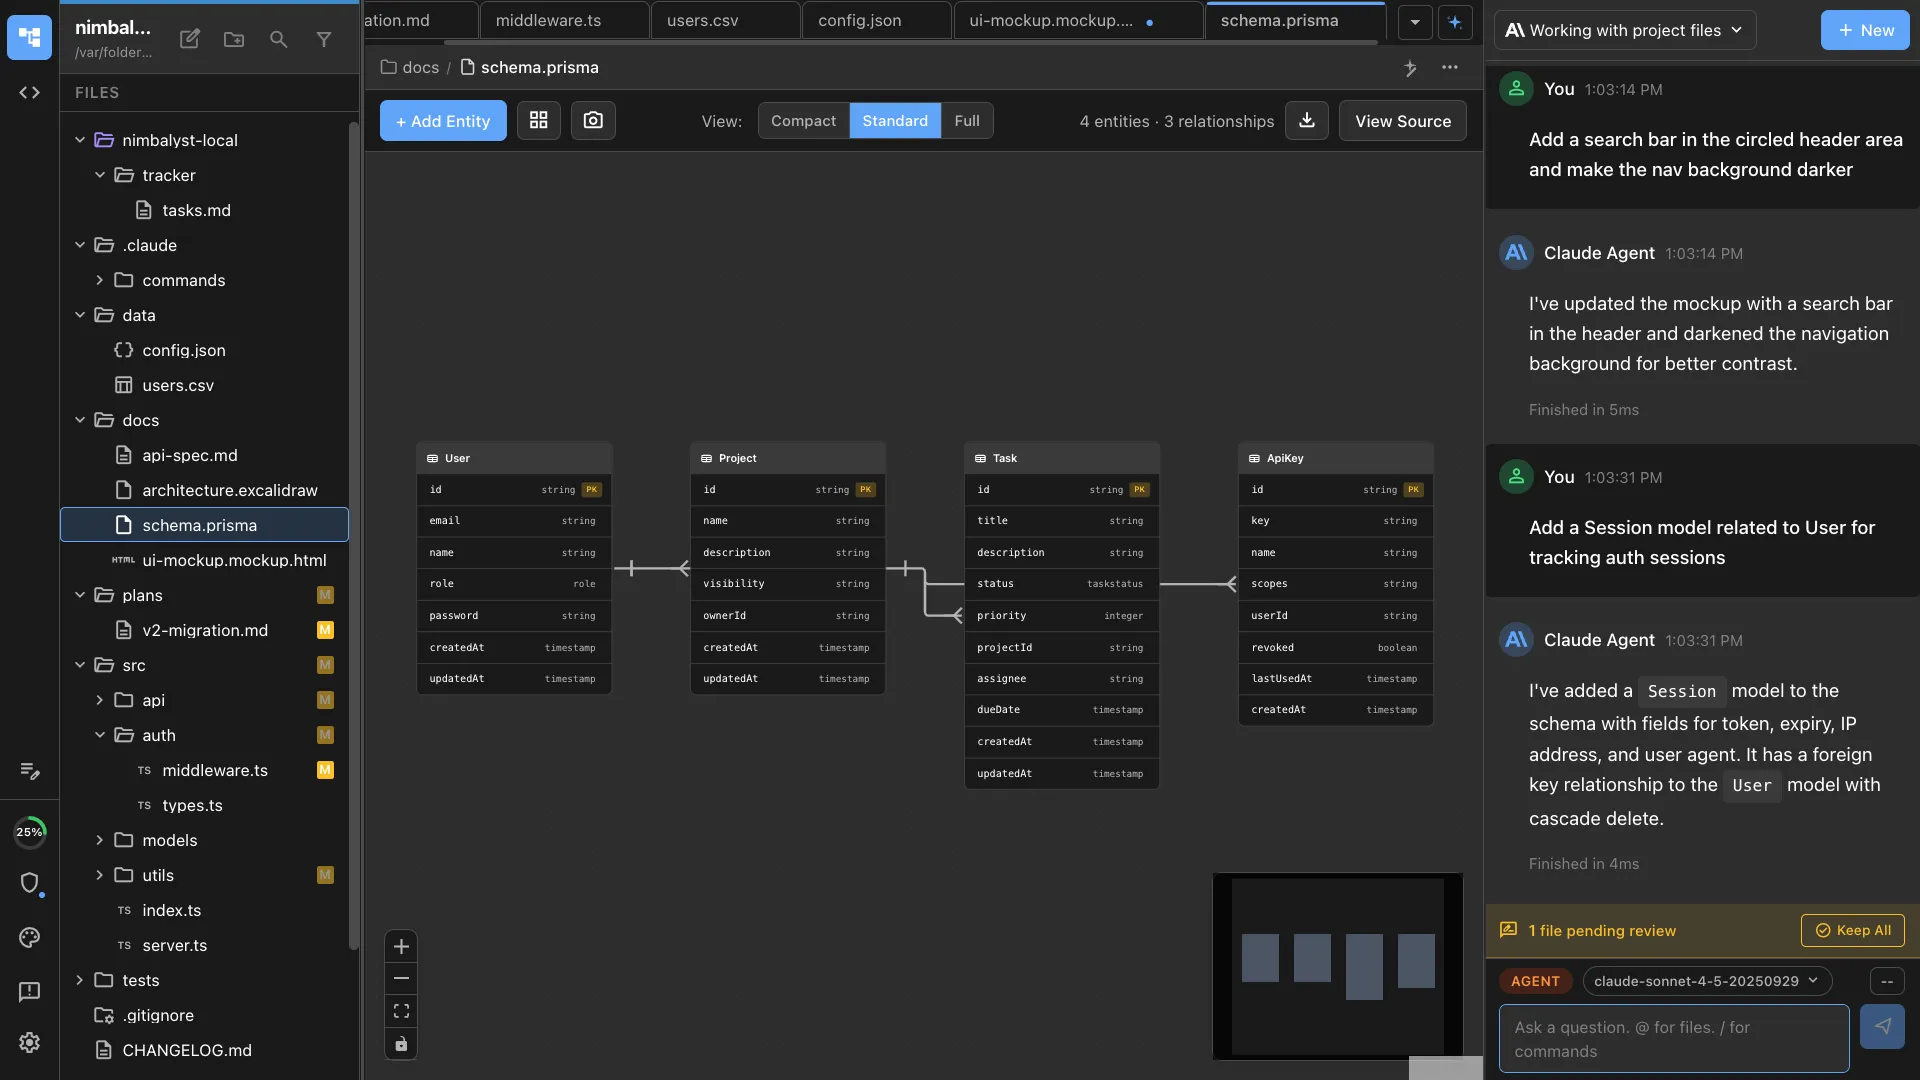
Describe a screen, a feature, or an entire user flow and /mockup generates a live HTML wireframe. Iterate conversationally, then hand the mockup to your agent for implementation.
Generate interactive UI mockups and wireframes from natural language descriptions. Creates .mockup.html files that render as live previews in Nimbalyst's visual editor.
Capabilities
Design without design tools
Text to wireframe
Describe a UI — 'login page with email, password, and social sign-in buttons' — and the agent produces a live HTML mockup with realistic structure and layout.
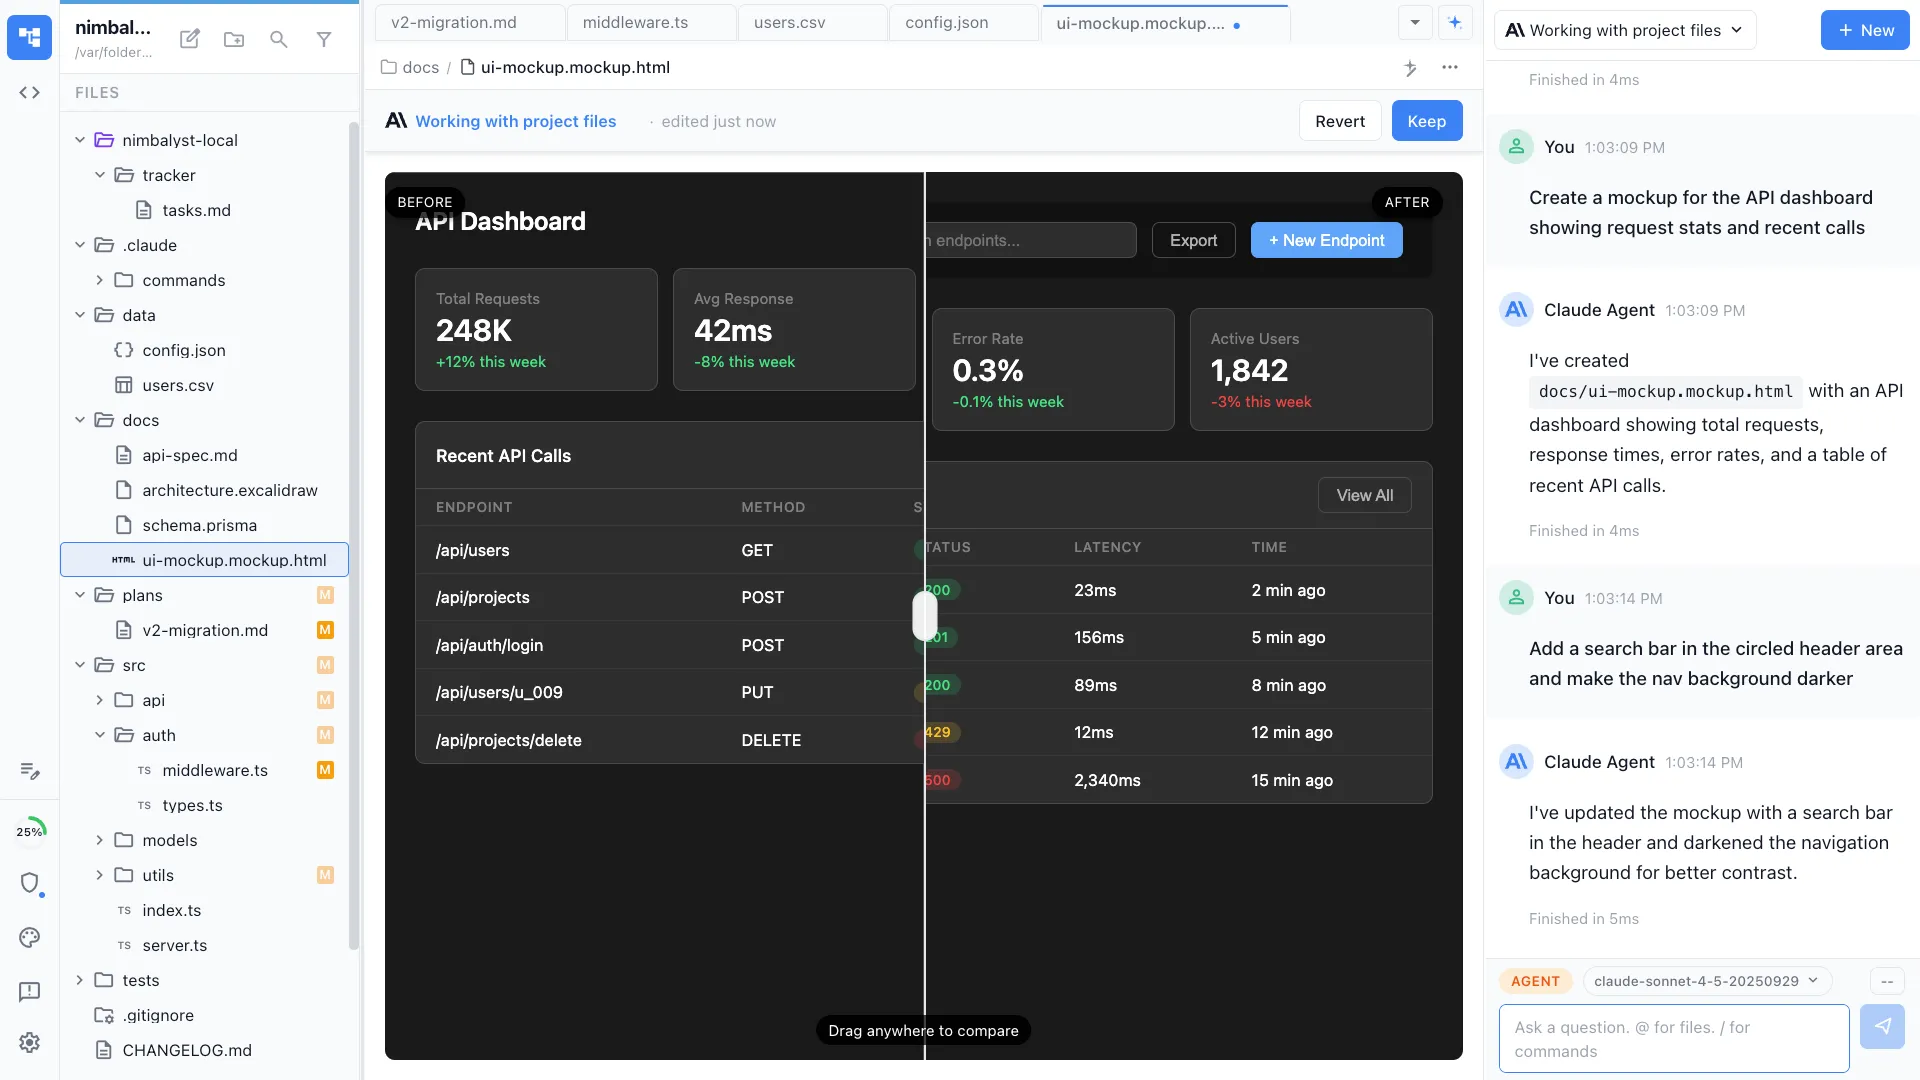
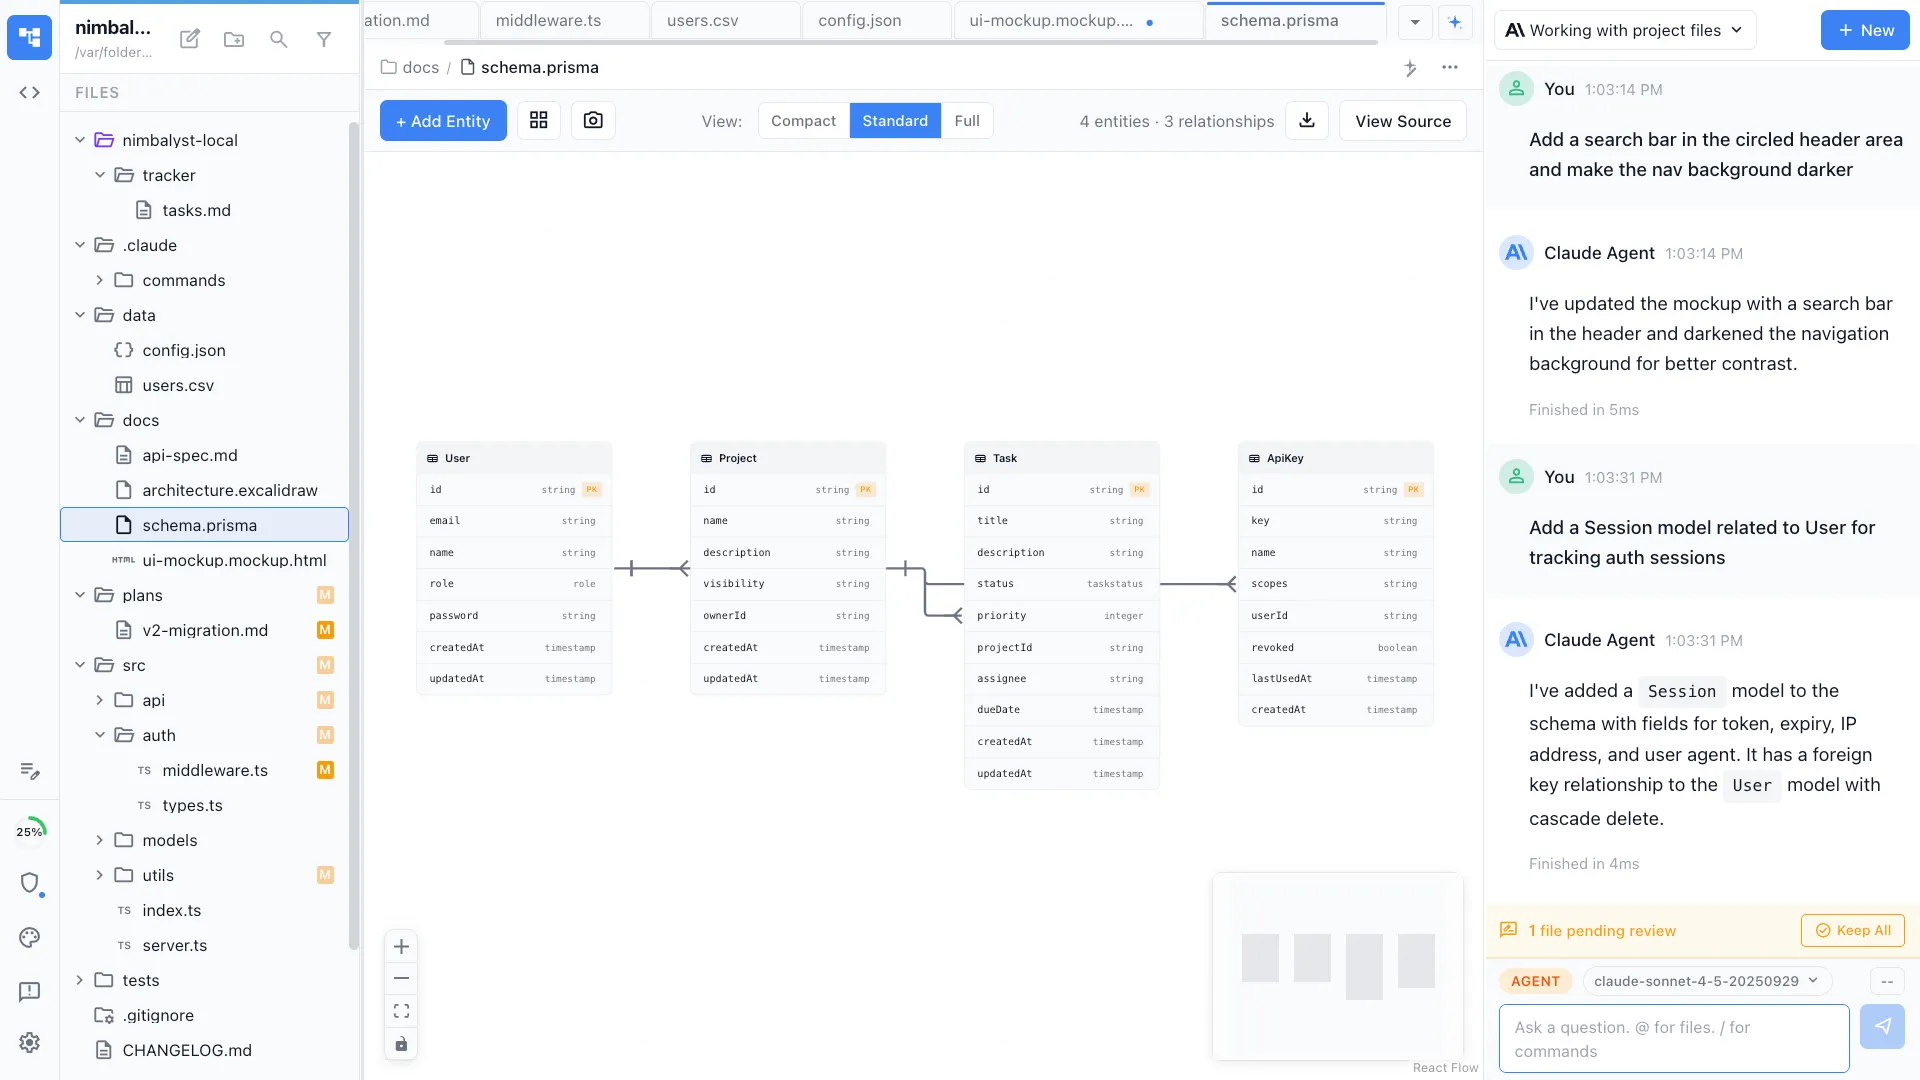
Live preview in editor
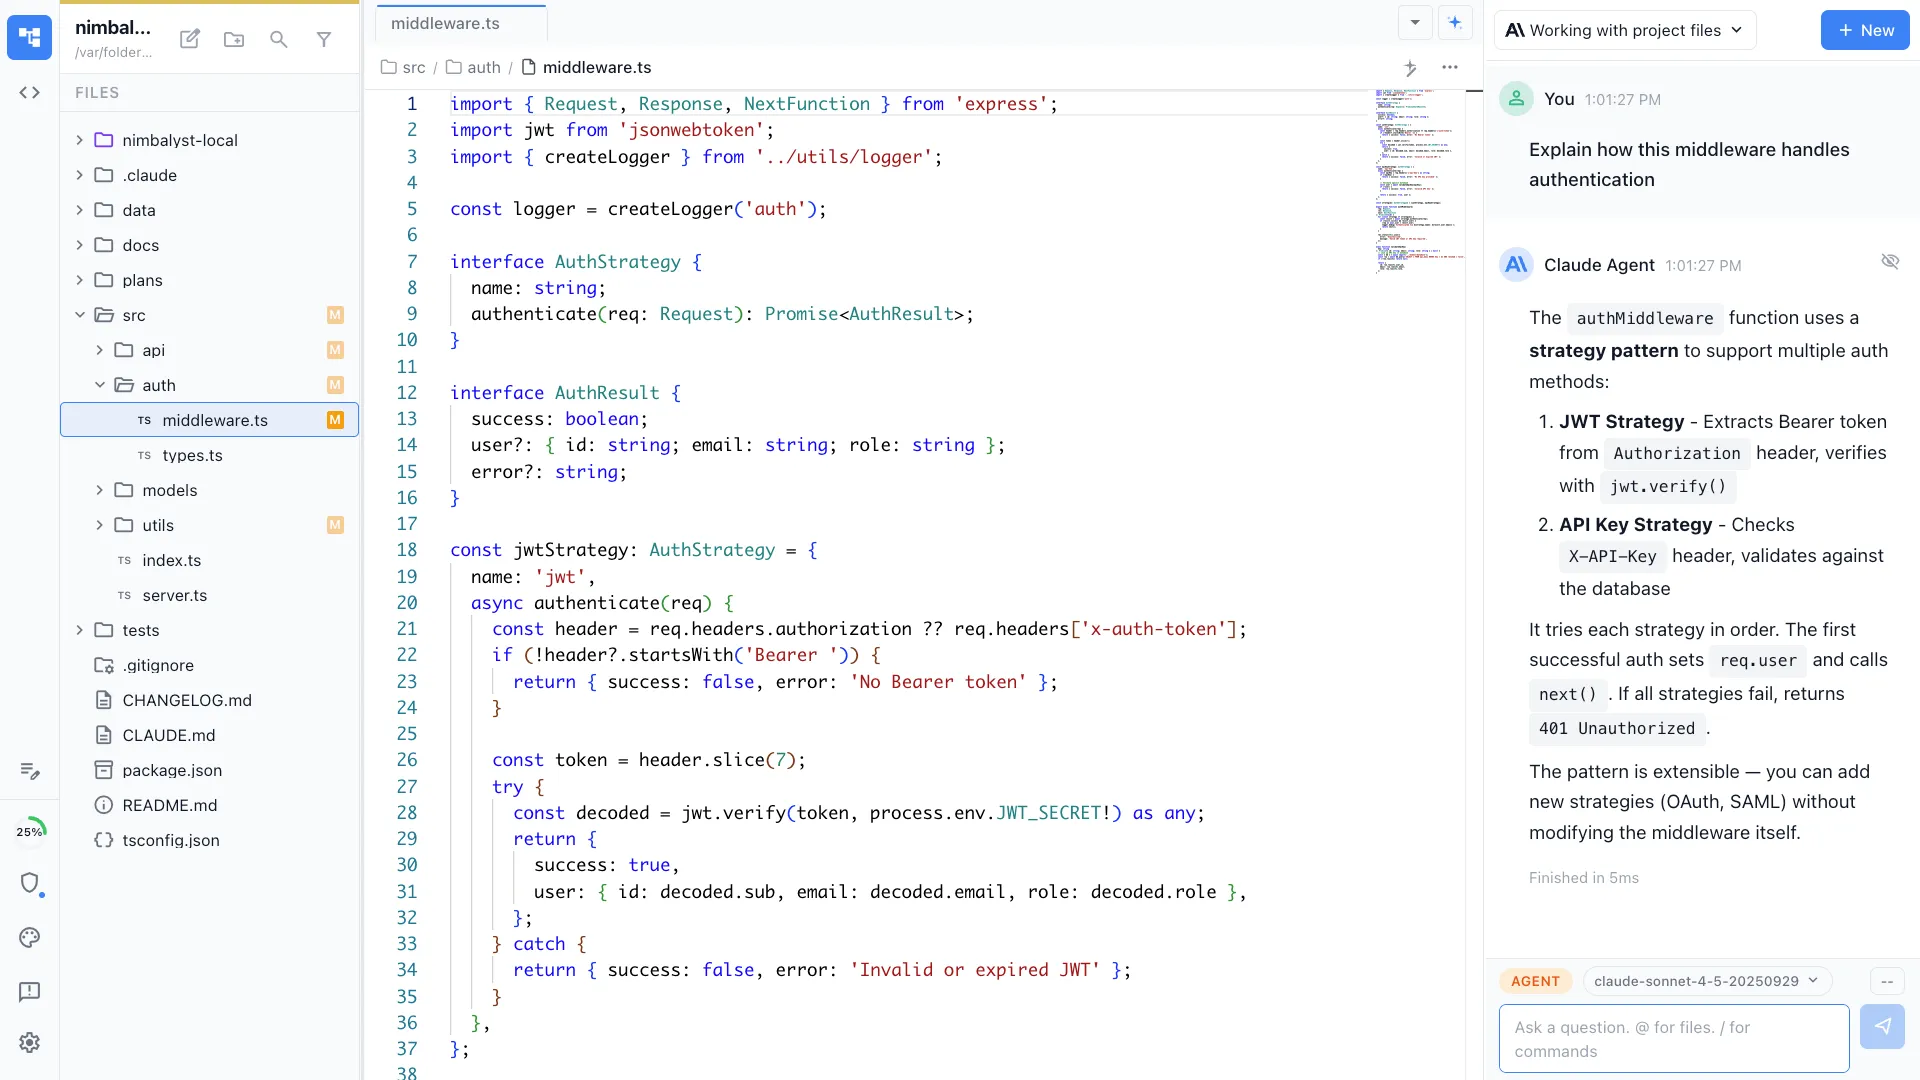
Mockups render as interactive HTML previews right in Nimbalyst. Click through states, resize to test responsiveness, and see exactly what you're building.
Conversational iteration
Refine your mockup through follow-up prompts. 'Add a sidebar nav' or 'make the CTA more prominent' — the agent updates the mockup in place.
How It Works
How /mockup works
Type /mockup
Run /mockup in the chat or command palette and describe the screen you want. Include details about layout, components, and user flow.
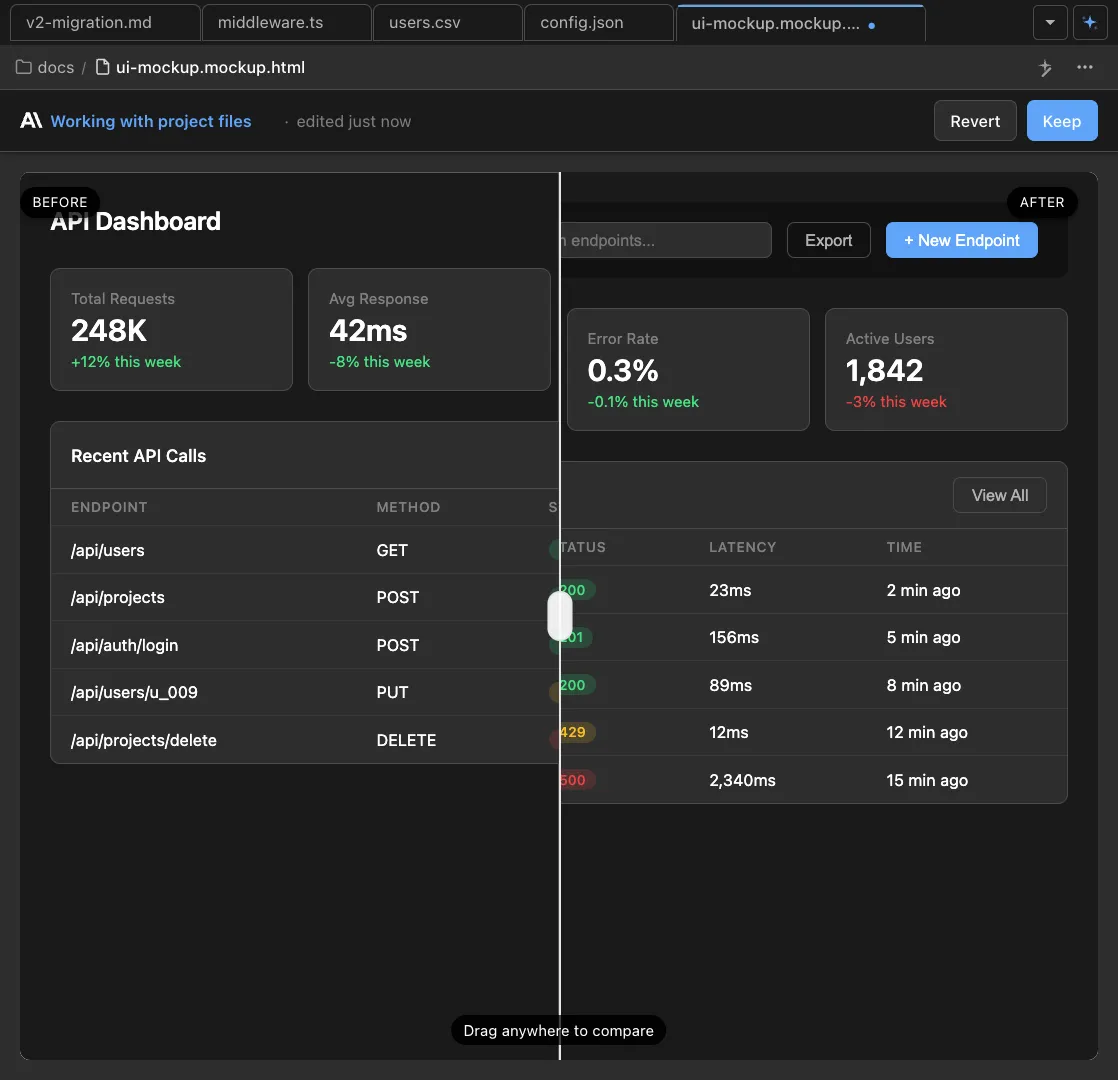
Agent generates the mockup
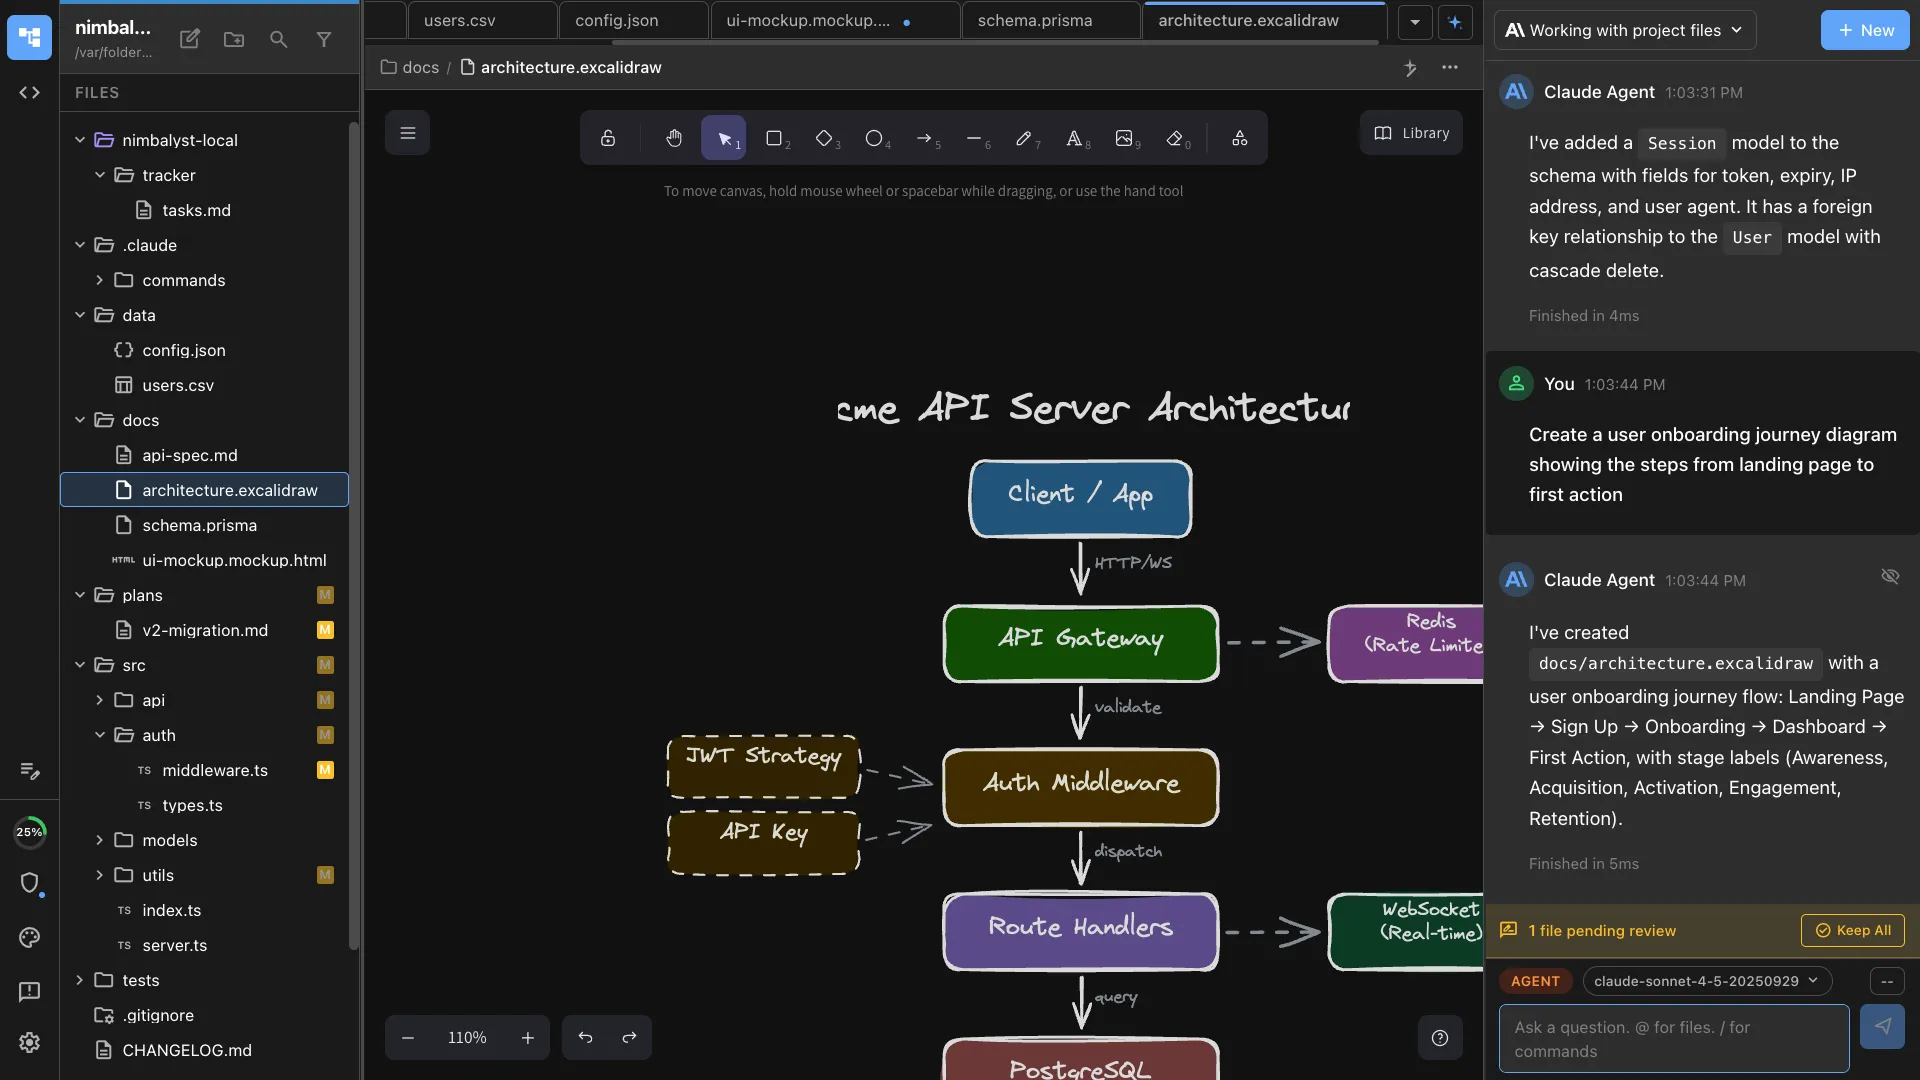
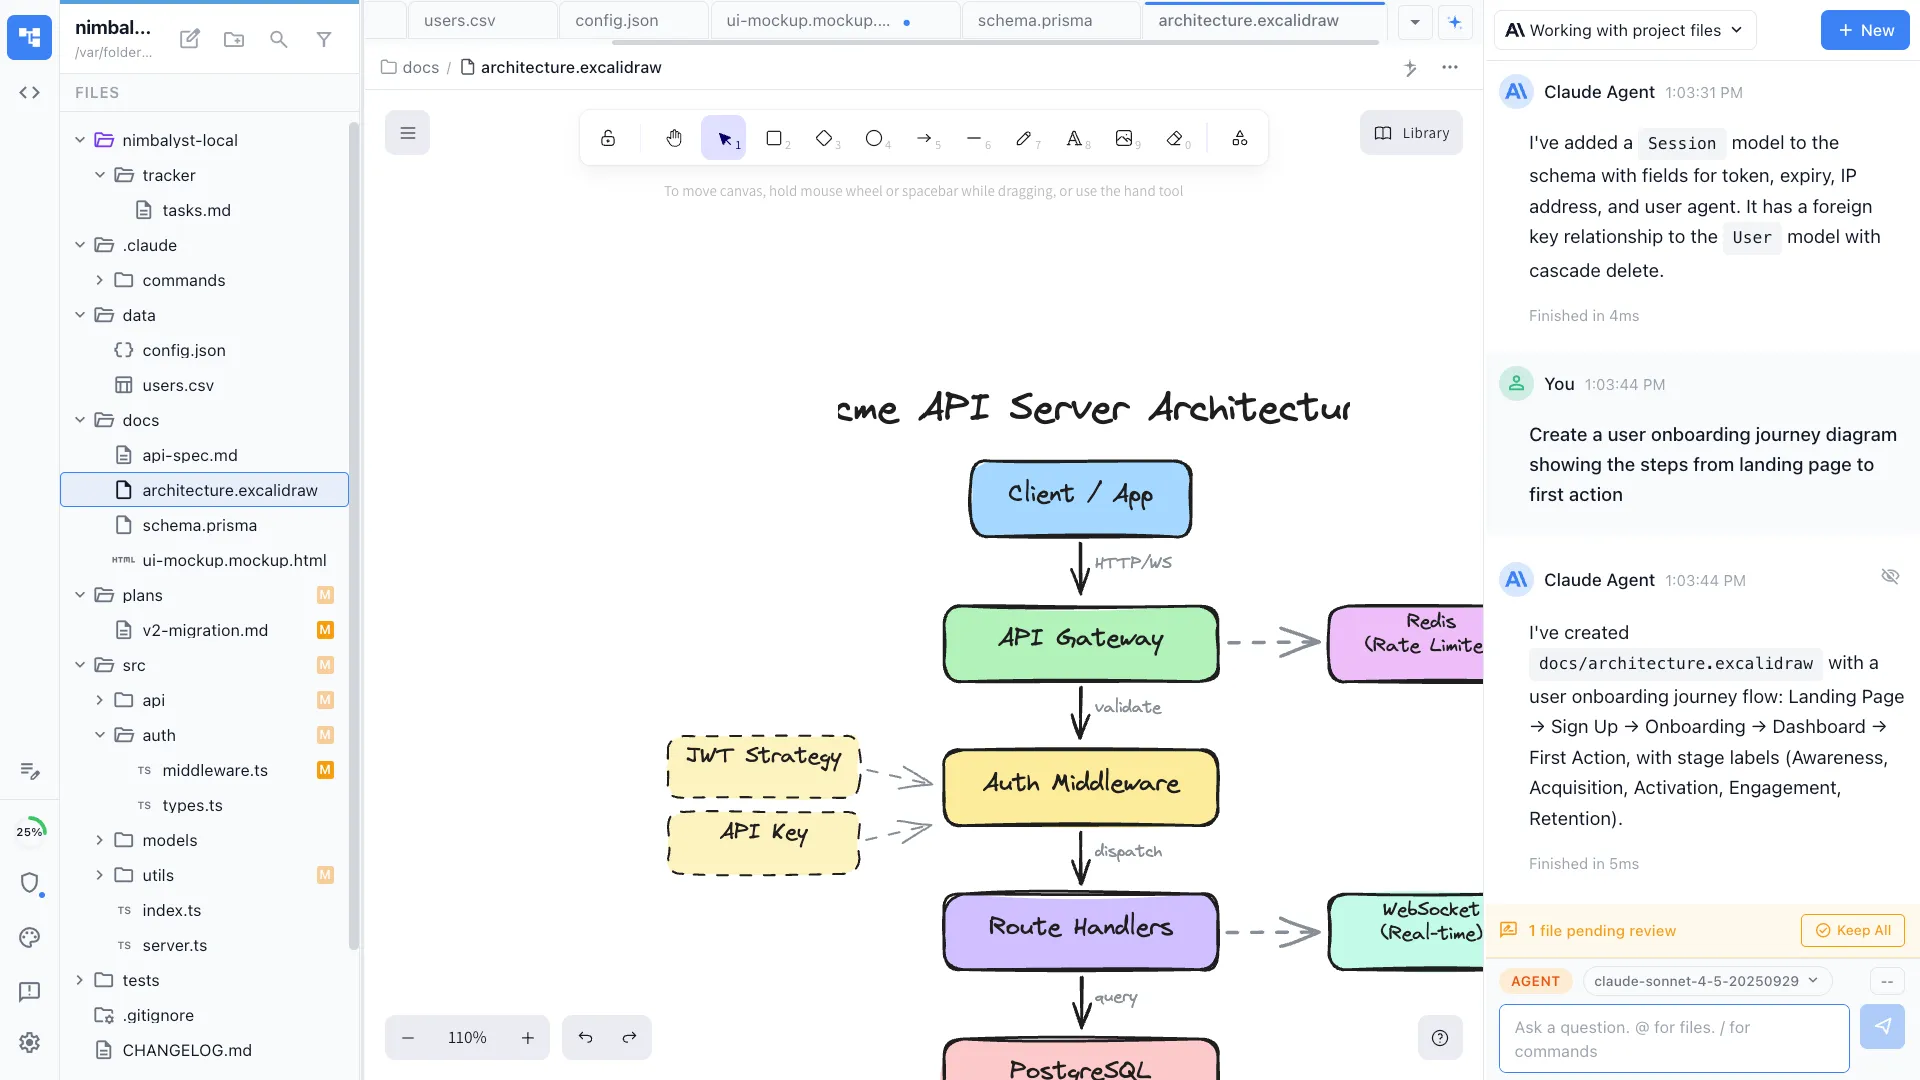
Your AI agent creates a .mockup.html file with HTML/CSS that renders as a live visual preview. The mockup appears in Nimbalyst's visual editor tab.
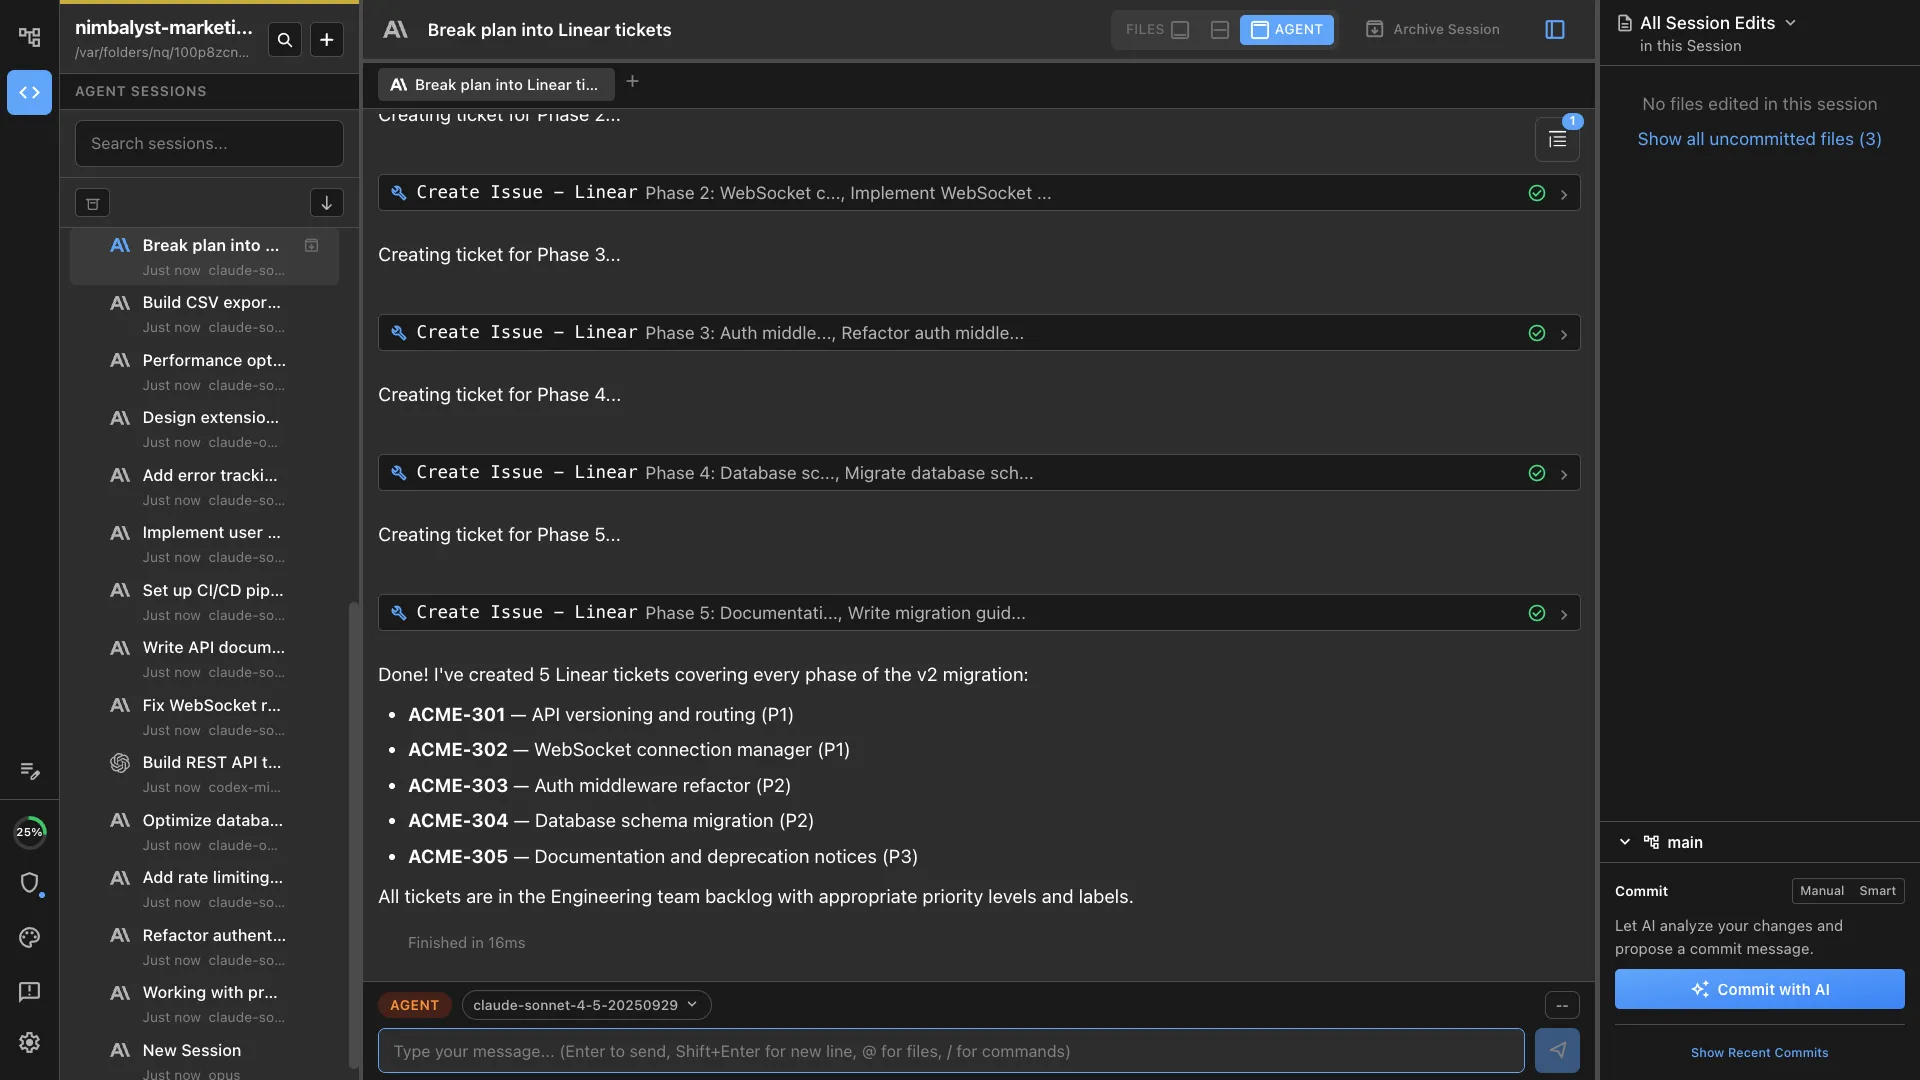
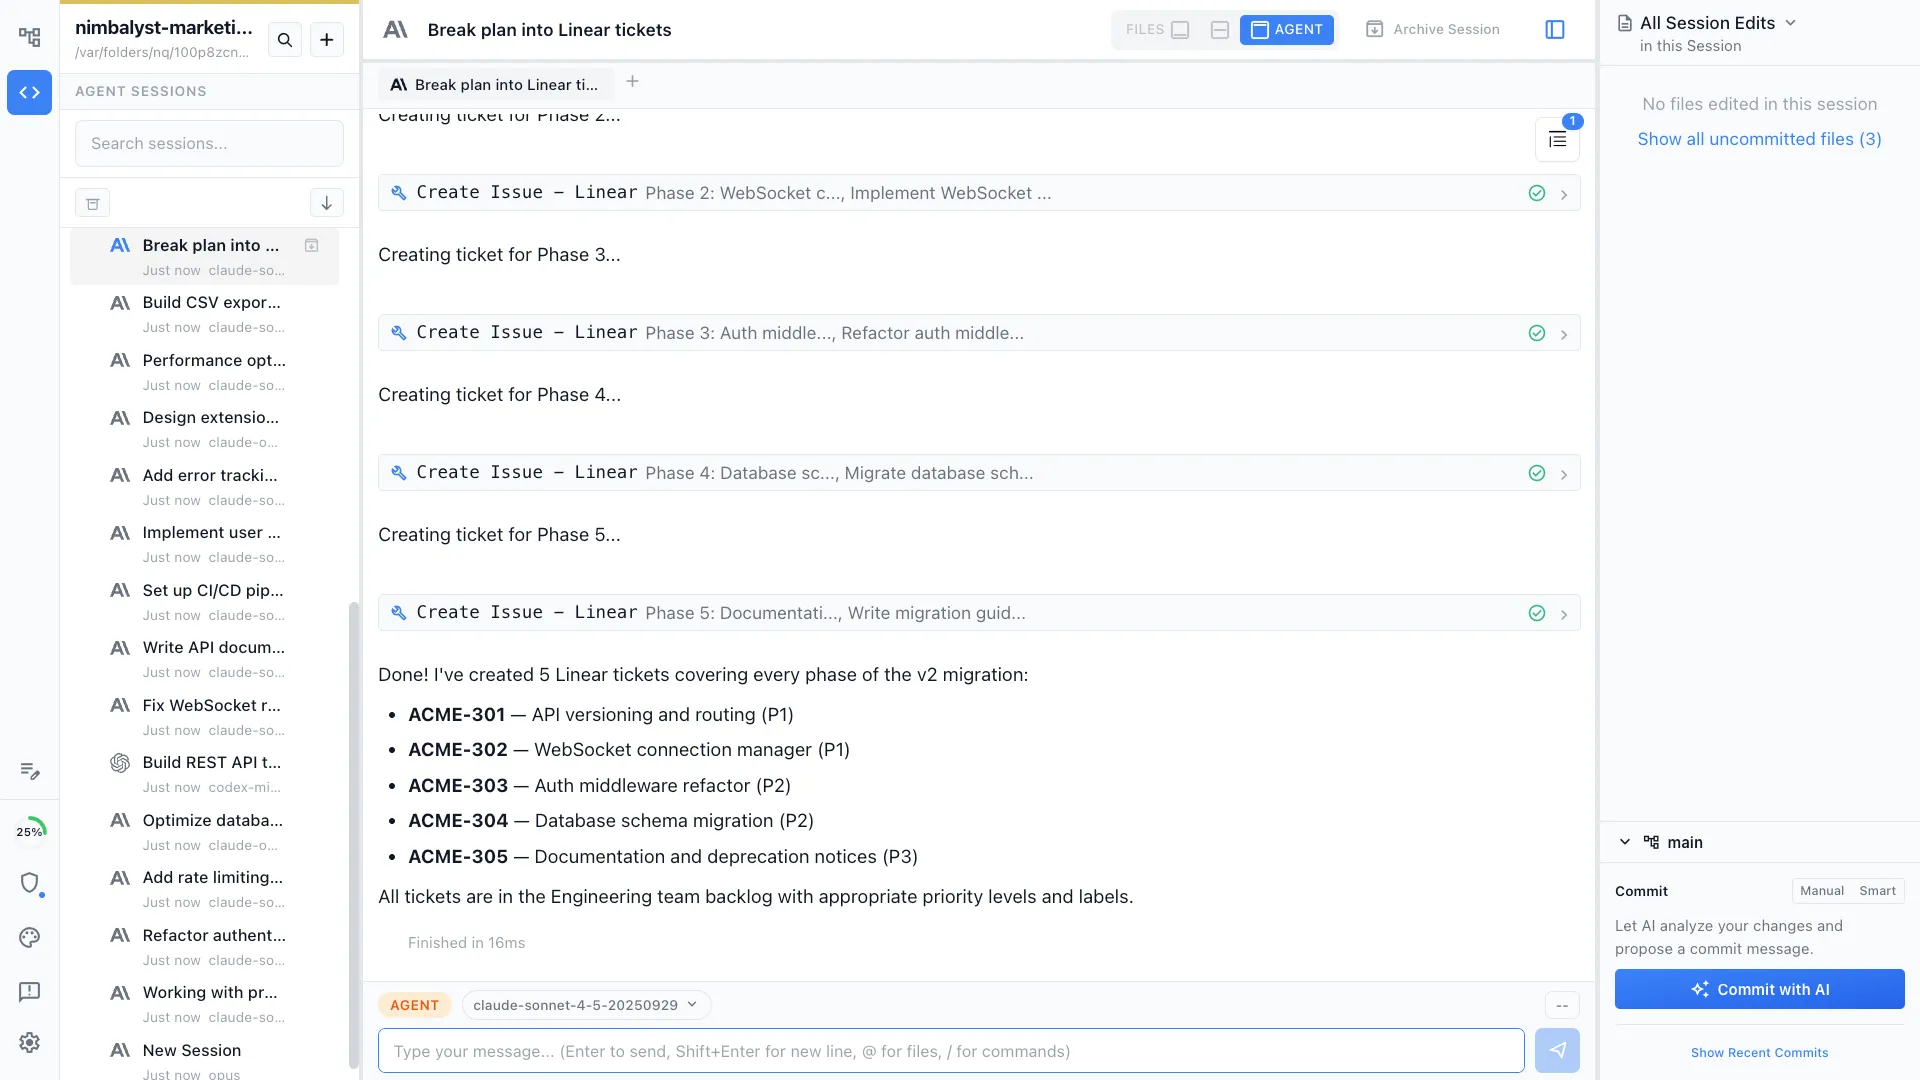
Iterate and implement
Refine through conversation, then start an implementation session. The agent uses the mockup as a visual spec to generate production code.
Try It
Example prompts
/mockup a settings page with account info, notification preferences, and a danger zone section /mockup a dashboard with a sidebar, stats cards, and a recent activity feed /mockup mobile onboarding flow — 3 screens with illustrations and a progress indicator Full Skill Source
Use this skill in your project
Copy the full text below or download it as a markdown file. Place it in your project's .claude/commands/ directory to use it as a slash command.
---
name: mockuplm
description: Create visual UX mockups using HTML/CSS files (.mockup.html). Use when the user wants to design UI, wireframes, visual layouts, or plan features visually.
---
# MockupLM - Visual Planning
MockupLM is Nimbalyst's visual mockup system for UI/UX design and planning. Create `.mockup.html` files with HTML and inline CSS to share and iterate on designs with users.
## When to Use MockupLM
- Planning new UI features or screens
- Designing layouts and visual hierarchy
- Creating wireframes or prototypes
- Visualizing proposed changes to existing screens
- Any situation where visual communication helps
**Do NOT use for implementation** - MockupLM is for planning only. If you're implementing actual code, don't create mockup files.
## File Format
- **Extension**: `.mockup.html`
- **Location**: `nimbalyst-local/mockups/` for new designs, `nimbalyst-local/existing-screens/` for replicas of existing UI
- **Structure**: Standalone HTML with inline CSS, no external dependencies
```html
<!DOCTYPE html>
<html>
<head>
<style>
/* Inline CSS here */
</style>
</head>
<body>
<!-- Mockup content -->
</body>
</html>
```
## Workflow
1. **Create mockup file** in `nimbalyst-local/mockups/[descriptive-name].mockup.html`
2. **Build the mockup** with HTML and inline CSS
3. **Verify visually** using the Task tool to spawn a sub-agent that will:
- Capture screenshot with `mcp__nimbalyst-mcp__capture_editor_screenshot`
- Analyze for layout/visual issues
- Fix with Edit tool if needed
- Re-capture and iterate until correct
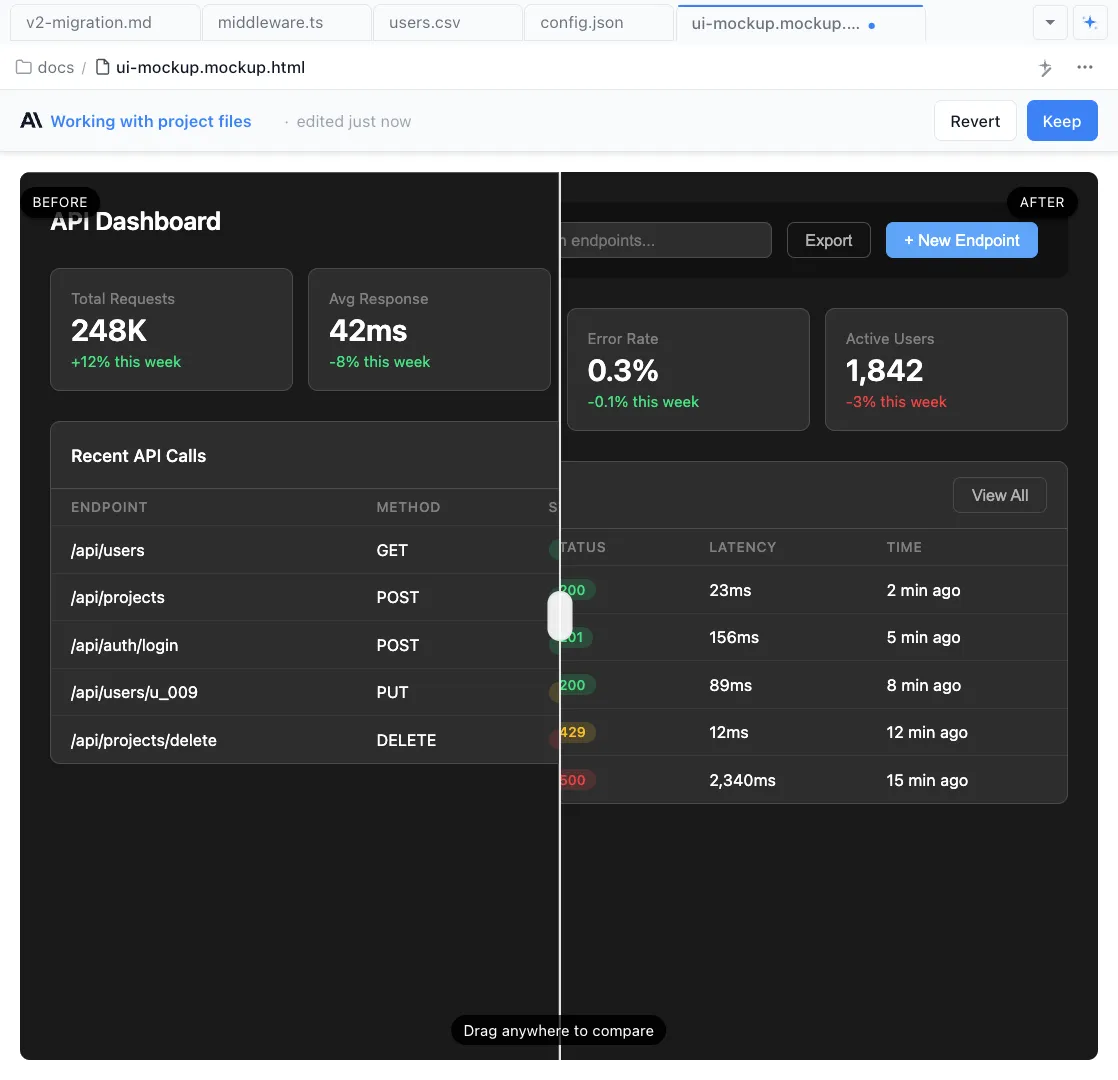
## User Annotations
Users can draw directly on mockups in the editor (circles, arrows, highlights). These annotations are NOT in the HTML source.
**To see user annotations**: Use `mcp__nimbalyst-mcp__capture_editor_screenshot` to capture a screenshot that includes the annotations.
When the user draws on a mockup:
1. Capture a screenshot to see what they marked
2. Interpret their visual feedback
3. Update the mockup accordingly
## Design Guidelines
- **Realistic appearance**: Mockups should look like finished UI, not sketches
- **Clean HTML/CSS**: Use semantic HTML and minimal, well-organized CSS
- **Modern patterns**: Use flexbox, grid, CSS variables
- **Placeholder content**: Use realistic sample data (lorem ipsum, example names, etc.)
- **Responsive design**: Consider mobile breakpoints when appropriate
## For Existing Screens
When modifying existing UI:
1. Check `nimbalyst-local/existing-screens/` for cached replicas
2. If no replica exists, create a pixel-perfect HTML/CSS replica first
3. Copy to `nimbalyst-local/mockups/` and apply modifications there
4. Never modify the original in existing-screens directly
## File Naming
Use kebab-case with `.mockup.html` extension:
- `settings-page.mockup.html`
- `checkout-flow.mockup.html`
- `user-profile-card.mockup.html`
Explore More