Worktrees
Use git worktrees in Nimbalyst to run AI coding agents on several branches at once, each with its own directory, session, and diff to review.
A git worktree gives an AI session its own branch and its own working directory, isolated from your main checkout. Use a worktree when you want an agent to build a feature, try an experiment, or investigate a branch without touching the code you are working in. Worktrees require Developer Mode and a git repository.
For background on why worktrees matter when several agents are running at once, see the git worktrees guide.
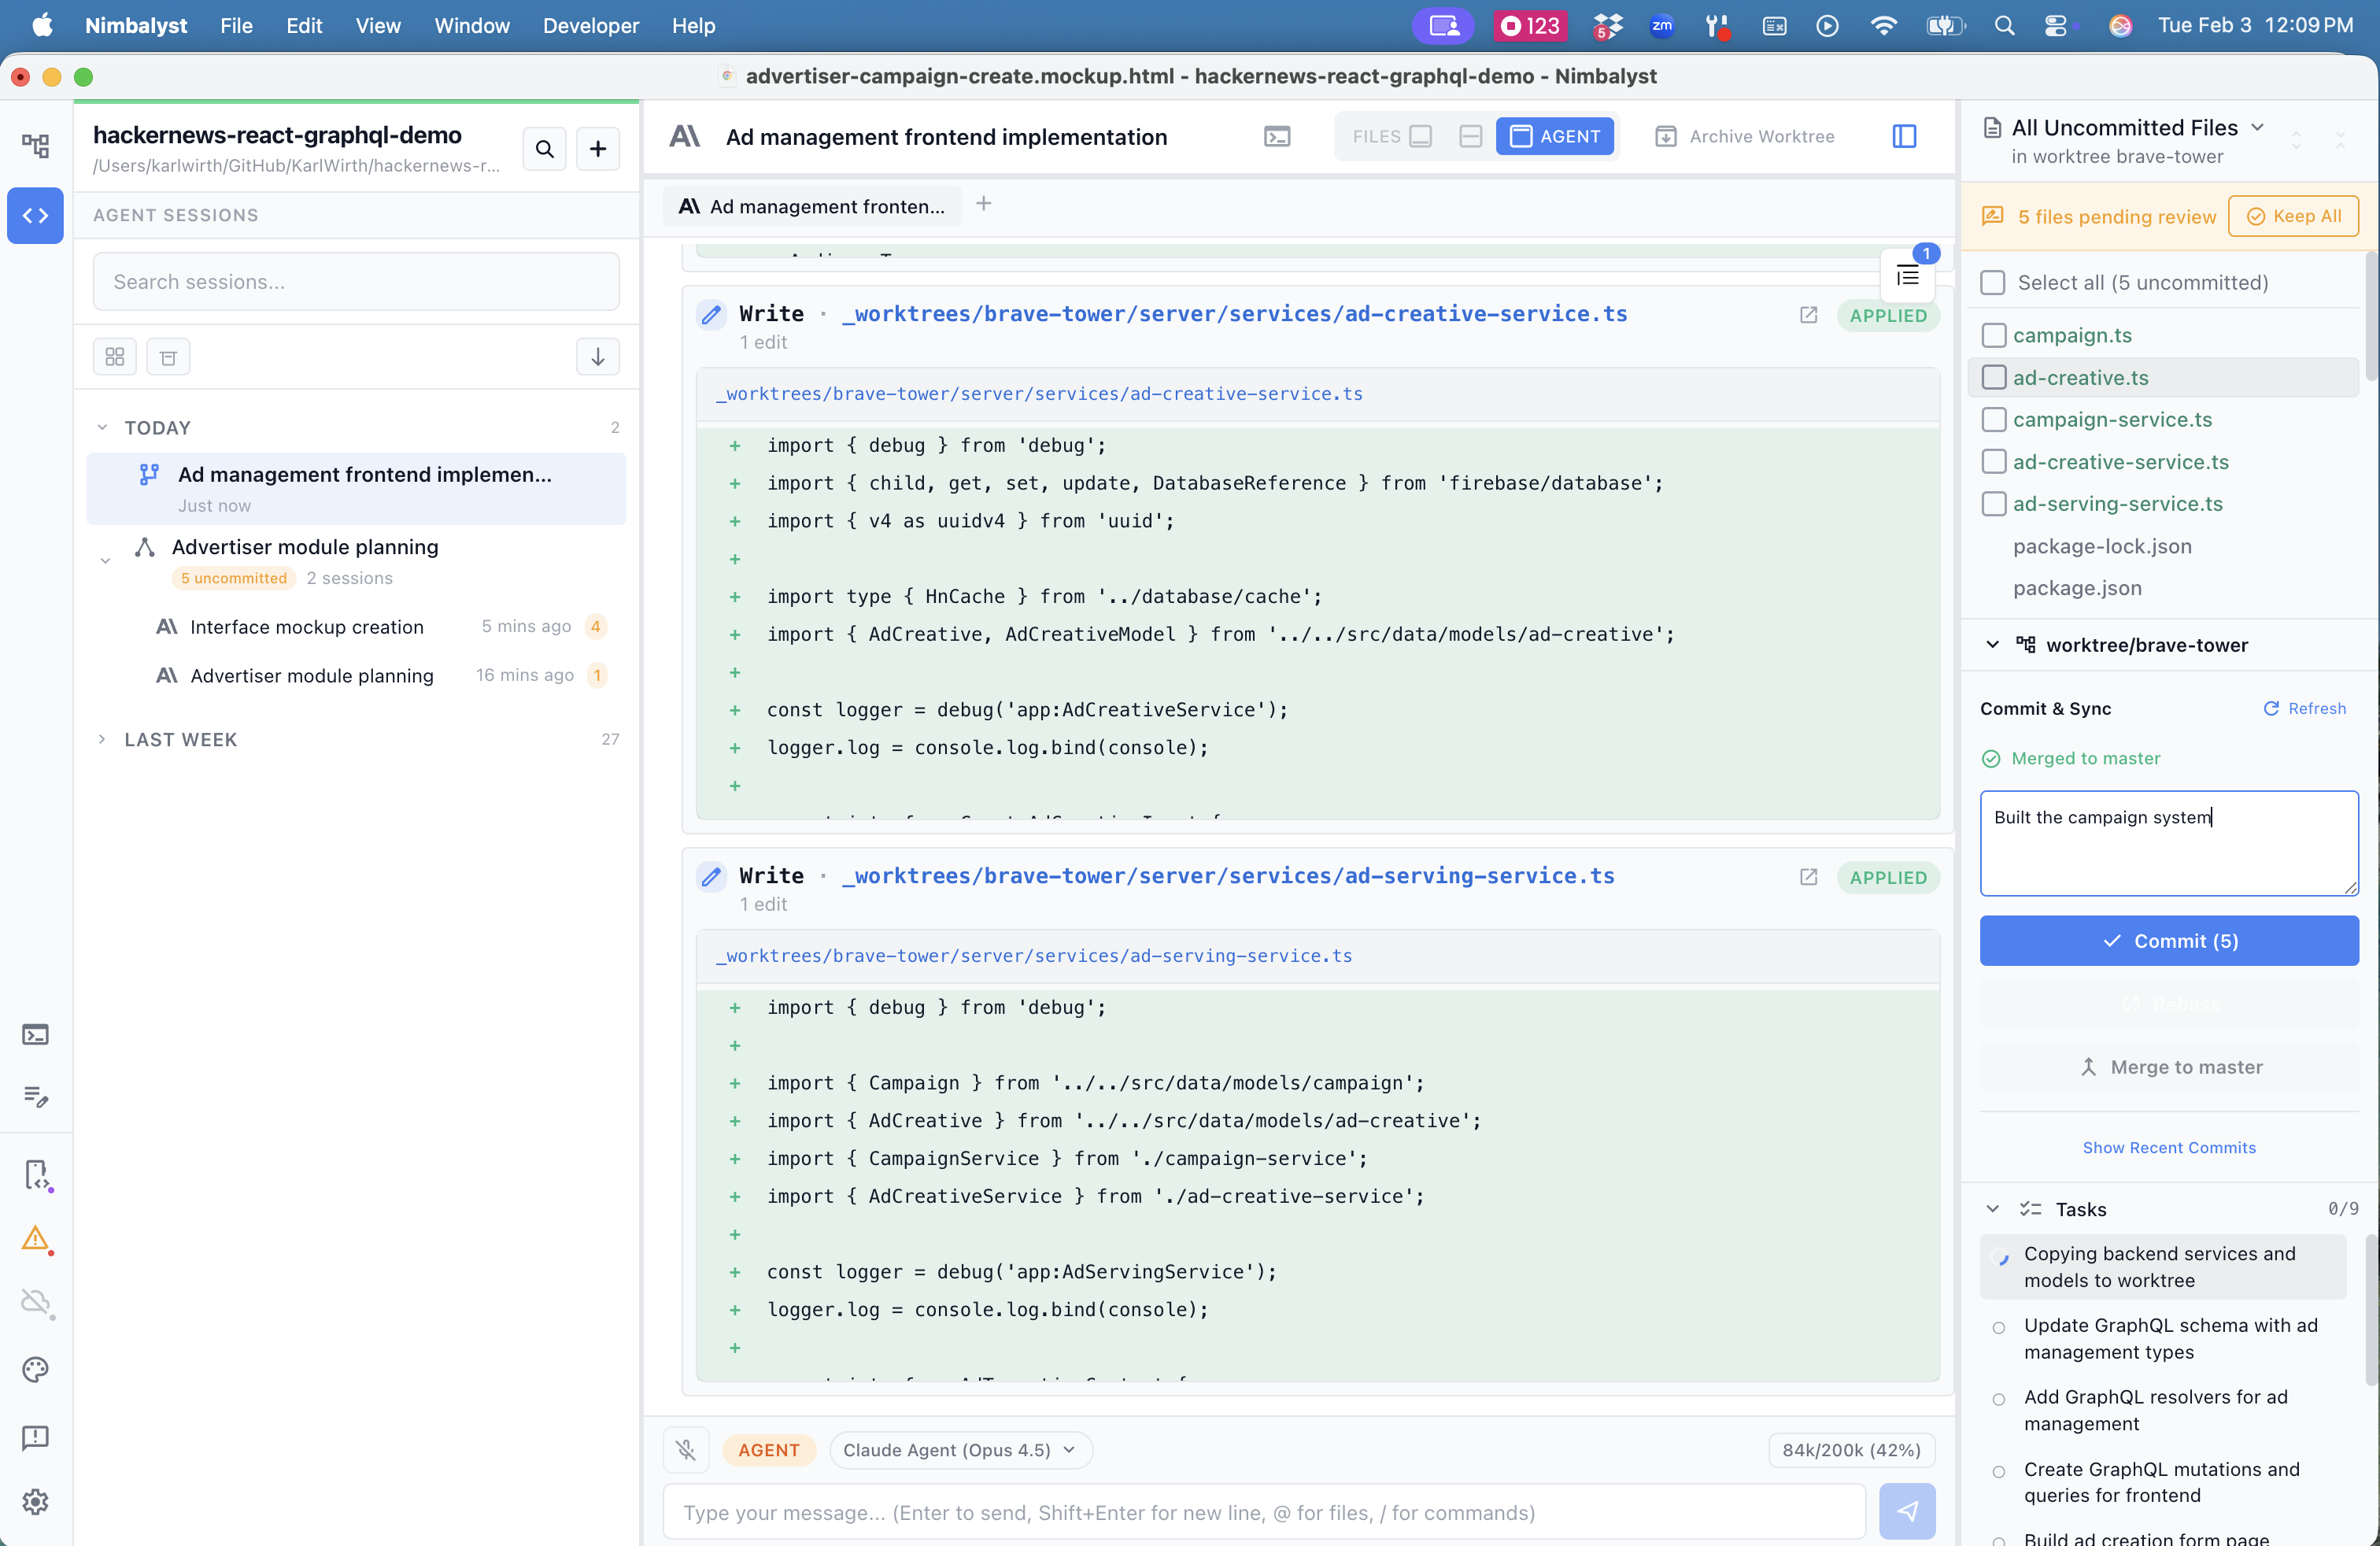
Creating a Worktree
There are three ways to start a worktree session:
- From the menu beside New session in the title bar, choose New Worktree (Cmd/Ctrl+Alt+W). This starts an isolated AI session on a new branch.
- From a Tracker item, choose the worktree action to launch an isolated session with that item linked as its context.
- From Pull Request mode, choose Open in Worktree to check out the pull request branch and start a session inside it. See Pull Request Reviews.
Working in a Worktree
- Each worktree has its own file system state, so changes never interfere with your main branch or with other worktrees.
- Review the session's edits, commit them, and merge the branch back from the panel next to the session.
- Rebase a worktree even with uncommitted changes; Nimbalyst auto-stashes them for you.
- Use the worktree's terminal button to open a terminal scoped to that worktree's directory.
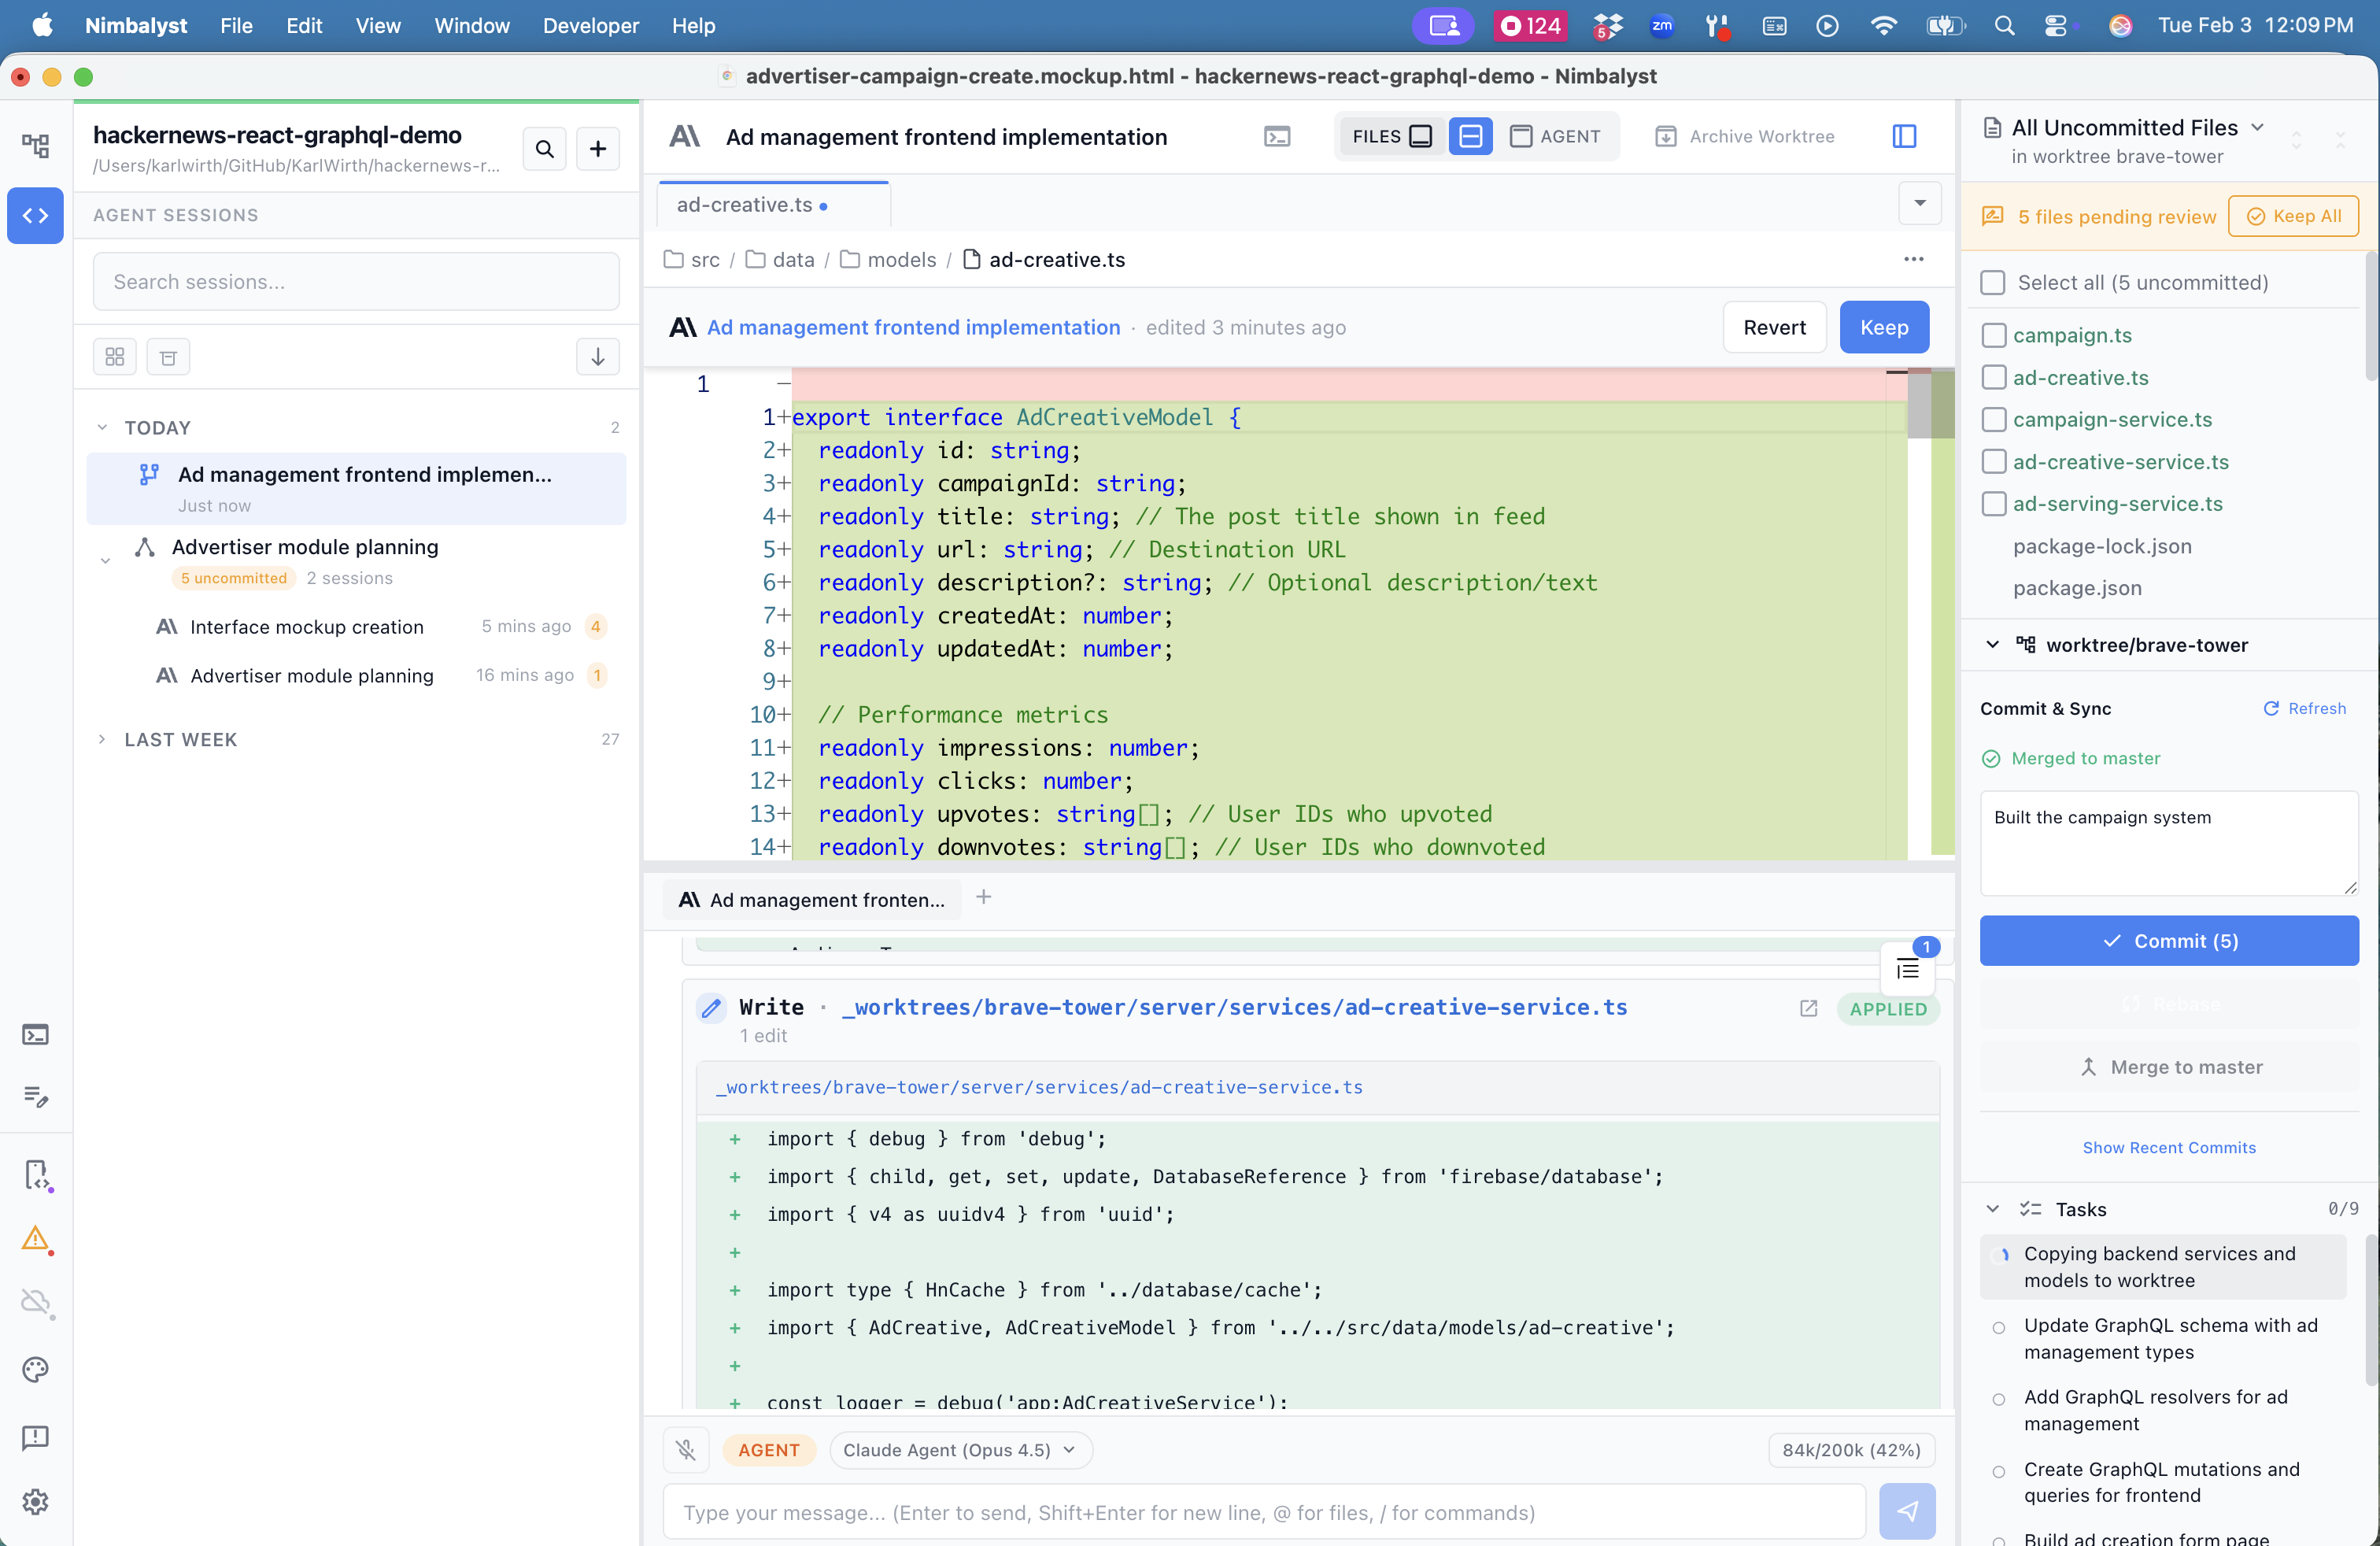
Worktrees vs Workstreams
These are easy to mix up:
- A workstream groups related sessions. All of its sessions work in the same project folder on the same branch. See Workstreams.
- A worktree gives a session its own git branch and folder, isolated from your main checkout.
Use a workstream to organize related sessions; use a worktree when a session's changes should stay off your main branch. A session in a worktree can also grow into a workstream, so the two combine.